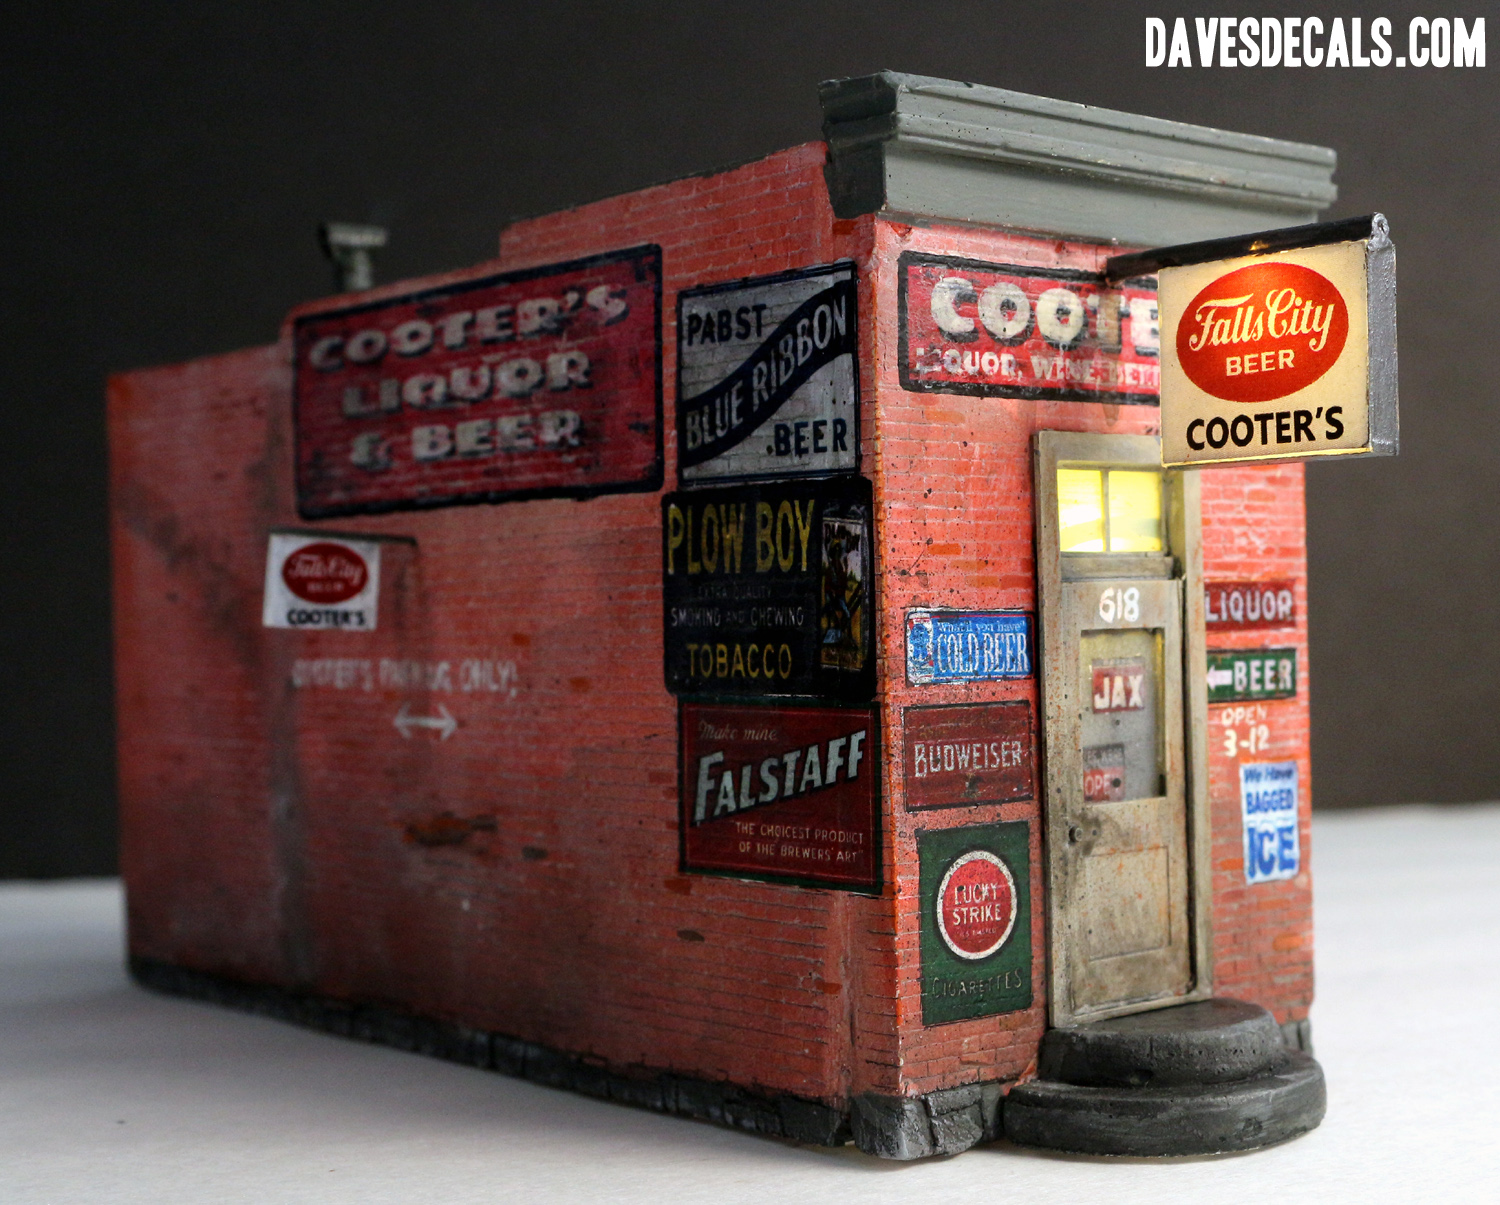
Building the Downtown Deco Cooters Hydrocal Kit
Have you ever built a Hydrocal building kit? Some have, many have not and some may be asking; what is Hydrocal? Well in short Hydrocal is plaster of Paris mixed with Portland cement making it considerably harder and more durable than straight plaster of Paris and additionally it will yields finer more defined details.
Consequently, Hydrocal can be more versatile in your ability to detail and paint without some of the limitation of resin, wood or plastic kits.
So let us get started after we have unpacked out kit (Fig 1) and inspected it for any chips or breaks which rarely occurs and quality vendors like Downtown Deco (www.downtowndeco.com) will freely replace and have graciously provided this kit (DD052 First Timer Bar) for this tutorial and Dave’s Decals (www.davart.net) who created and provided a decals set. (#7022).
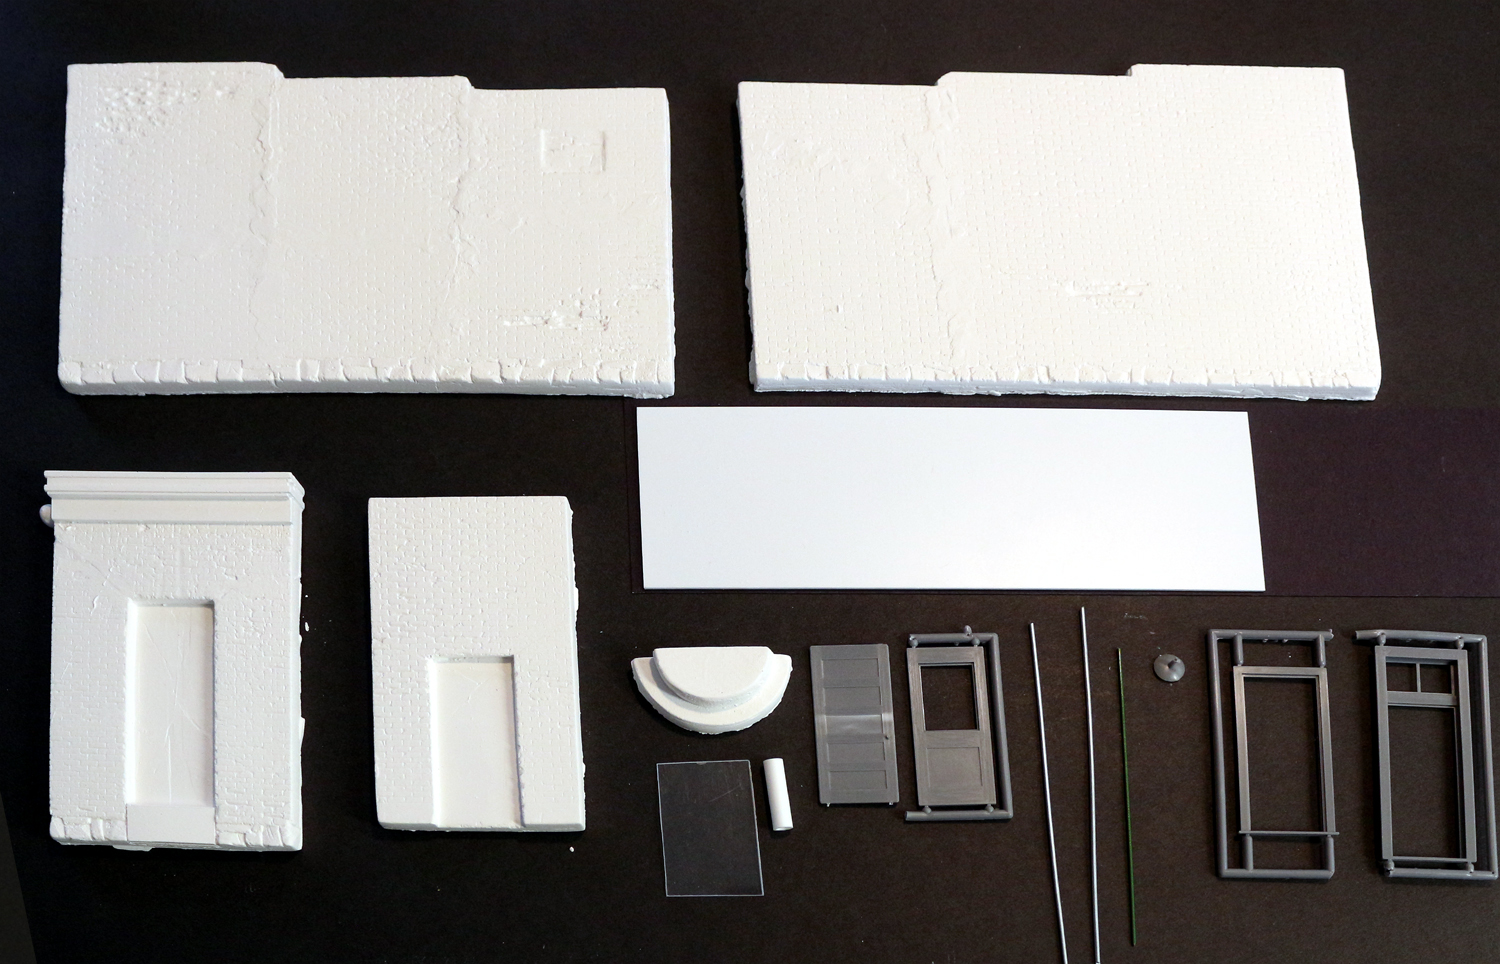
Most if not all of the tools you will need are likely on your hobby bench now, but here is a short list of the general tools, glues and paints you will need with optional tools.
Tools you will need in addition to your kit –
- Hobby knife or sculpting tool
- Sanding block or emery board
- (Optional) Loose drill bits and carving tool for making a window opening.
- Five minute epoxy (preferred), CA glue, MEK type plastic weld and white glue
- (Optional) Sculpting paste or Filler Putty
- Black and White primer (cheap spray paint works fine)
- Assortment of artist brushes
- Craft/Hobby paints in your choice of colors
- Decals and Setting Solution
- Flat clear sealing spray
- (Optional) LED Lights
- (Optional) Styrene sheets/strips, rod, acetate, foam board and black masking tape
STEP ONE – CLEAN UP
Generally all the pieces of your kit will have minimal flashing and beading from the manufacturing process and this will need to be removed. Beading is small plaster beads that form as the demolded piece cures and dries. Untrimmed part Fig. 2
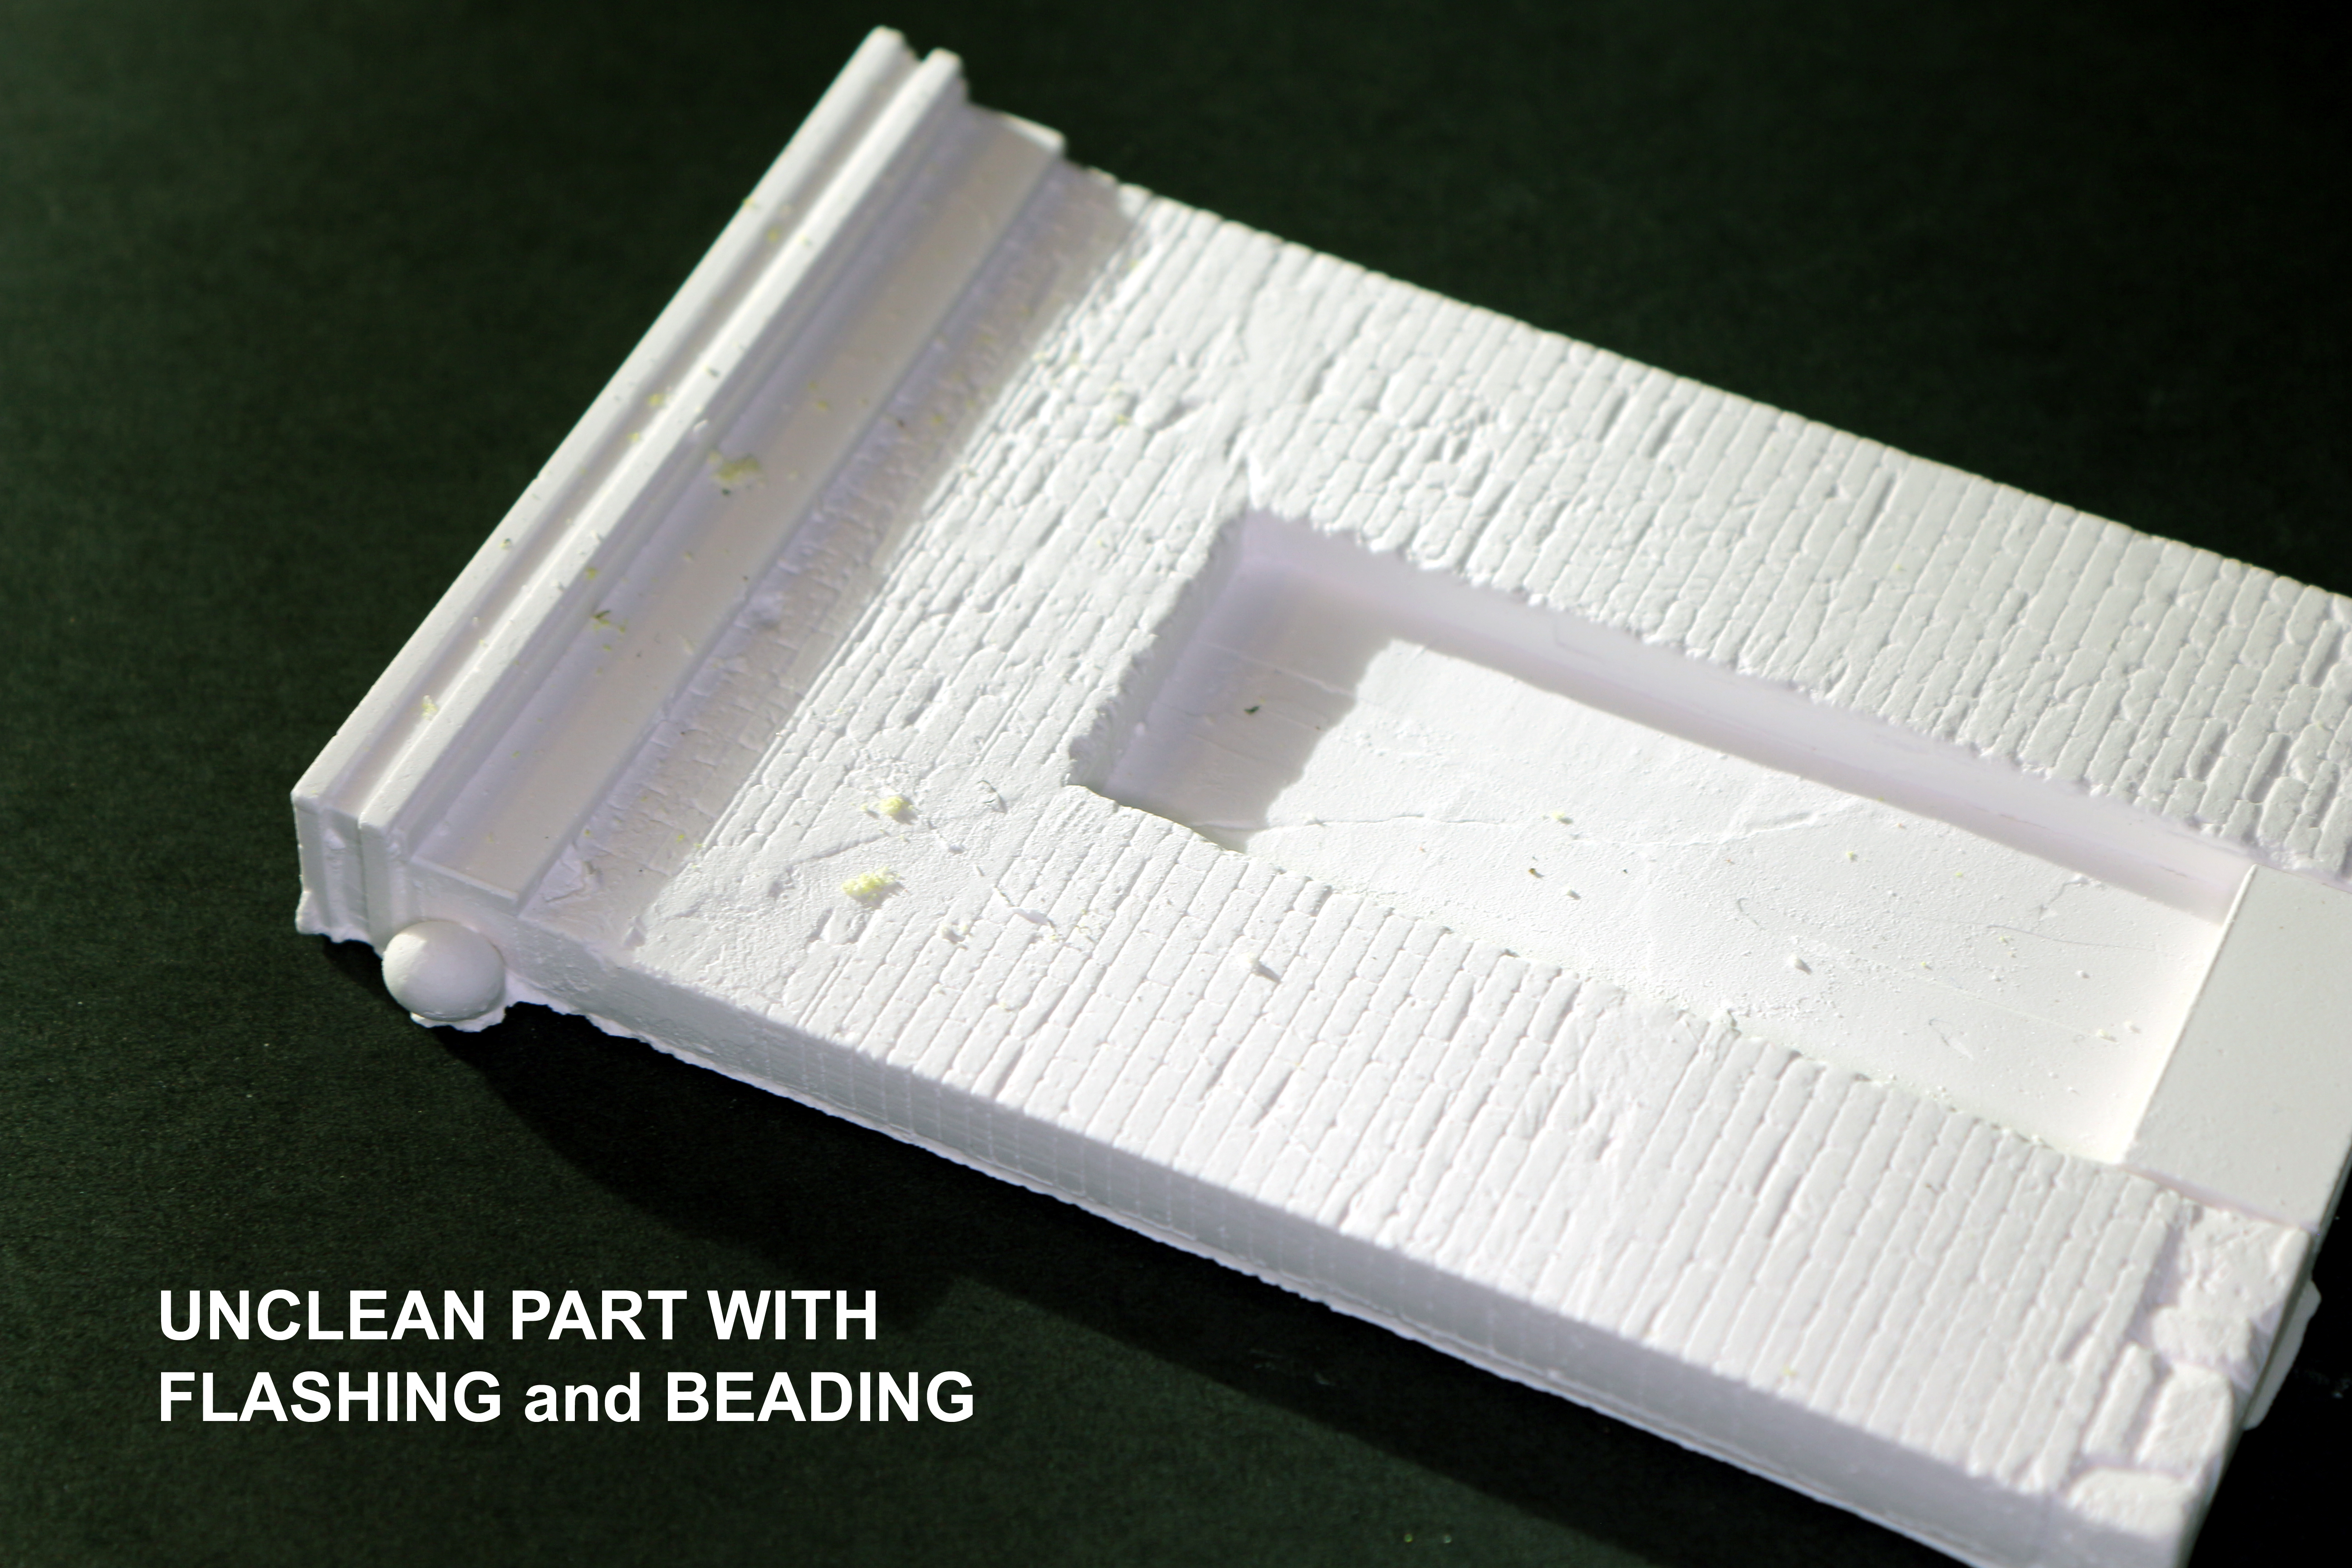
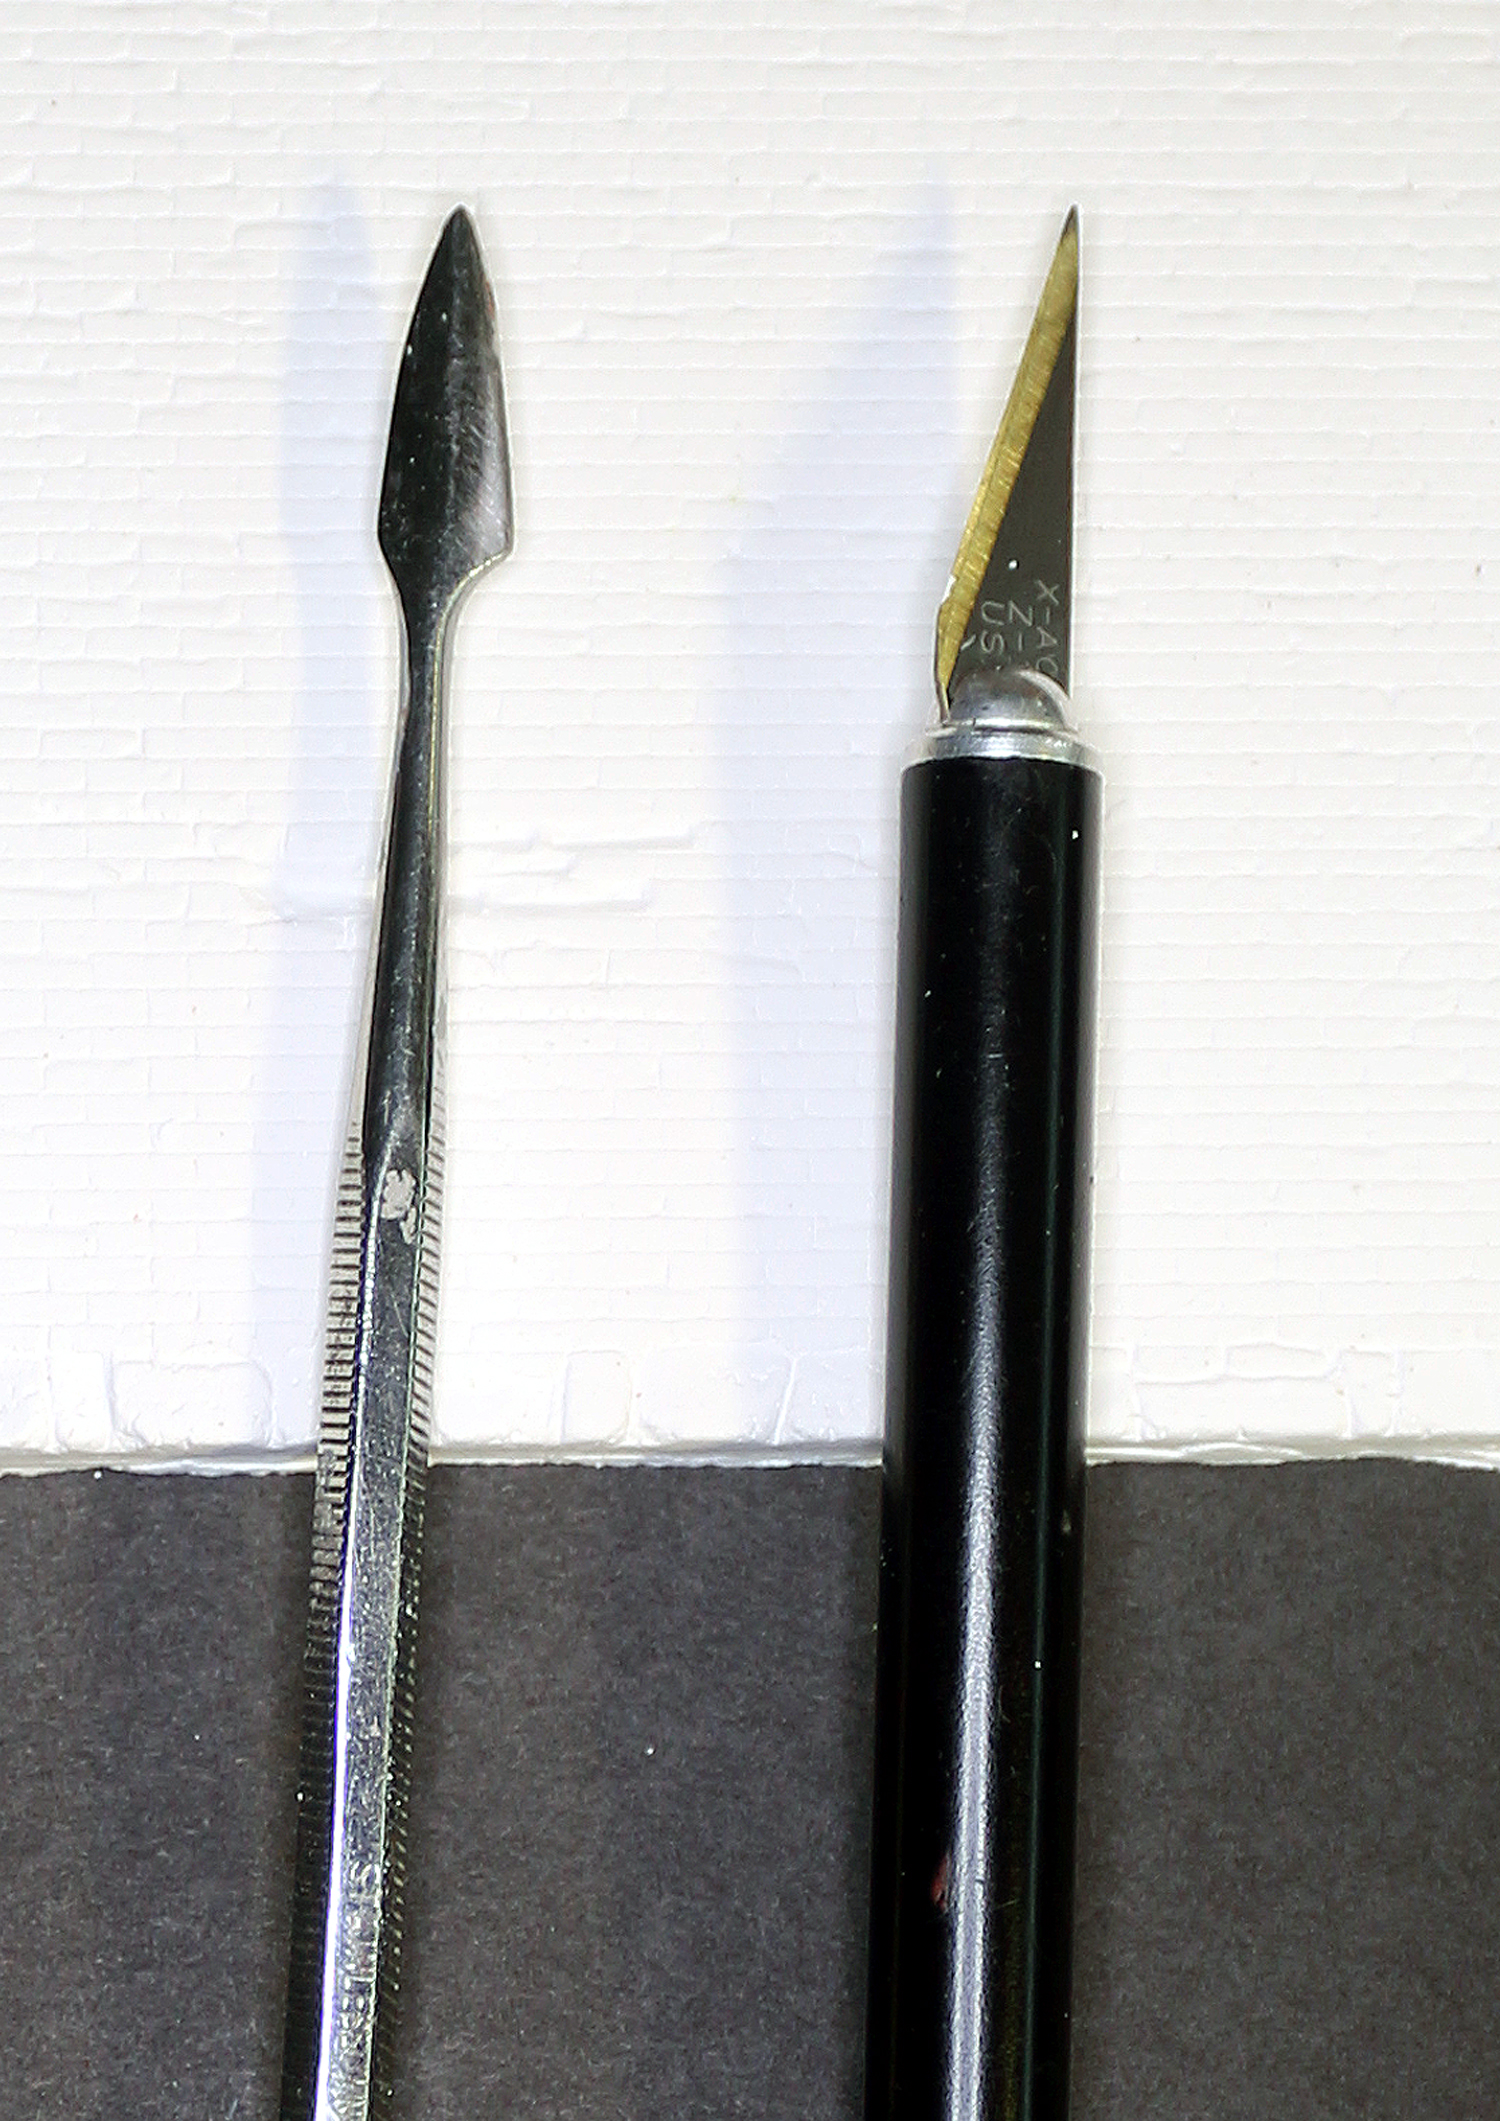
Using a hobby knife (preferably used/dull) or sculpting tool (Fig 3) gently scrap away the flashing and with the point of your tool you can remove any beads that may be on your piece. Make sure you look at the edges and one or both end will usually have brickwork and the other without (I’ll call this the ‘glue end’) as this end without brickwork is the end you will be applying glue.
Make sure as you clean not to remove your brickwork from the brick end as this is on the exposed walls of your model and can effect your finished appearance. On the glue end you want to use a sanding block with a heavy grit sandpaper or Emery Board to smooth and flatten the end to fit snugly against the adjoining wall as possible. (HINT: If you have minimal flashing on your pieces all your clean up may be done with only a sanding block or emery board.)
STEP TWO – DRY FITTING and GLUING
After the cleaning of the glue ends are to your liking, dry fit (Fig 4) them and look for any gaps that need to be addressed with additional sanding and check that you have a good right angle of your walls. To check your right angle you and use a square, 1-2-3-blocks, lines on a cutting mat, your eyes, basically anything with a 90 degree right angle will work.
This would also be a good time to dry fit your doors and windows as the opening may need a little trimming to insure a proper fit. Should there be any locations for doors or windows that do not have openings, but your doors and windows do you can carefully cut them out now or later. (Fig 5)
To cut an opening in Hydrocal is not that difficult and there are several methods, I’ll cover mine. First mark the location of the required opening be it for and existing window or the addition of a new one. If you satisfying that your location marks are correct begin to scribe your line with an hobby blade if the wall you are working on is not that thick you can scribe your lines completely through the wall. If you walls are thick you may want to hand drill a 1/4″ of larger hole or two (depending on your scale) and then use a carving tool to remove the rest within your scribe lines.

STEP THREE – INTERIOR PRIMING
(NOTE: This is only relevant if you kit has windows, this kit does not but I am including this step for instruction purposes and as I am going to add a window in the door.)
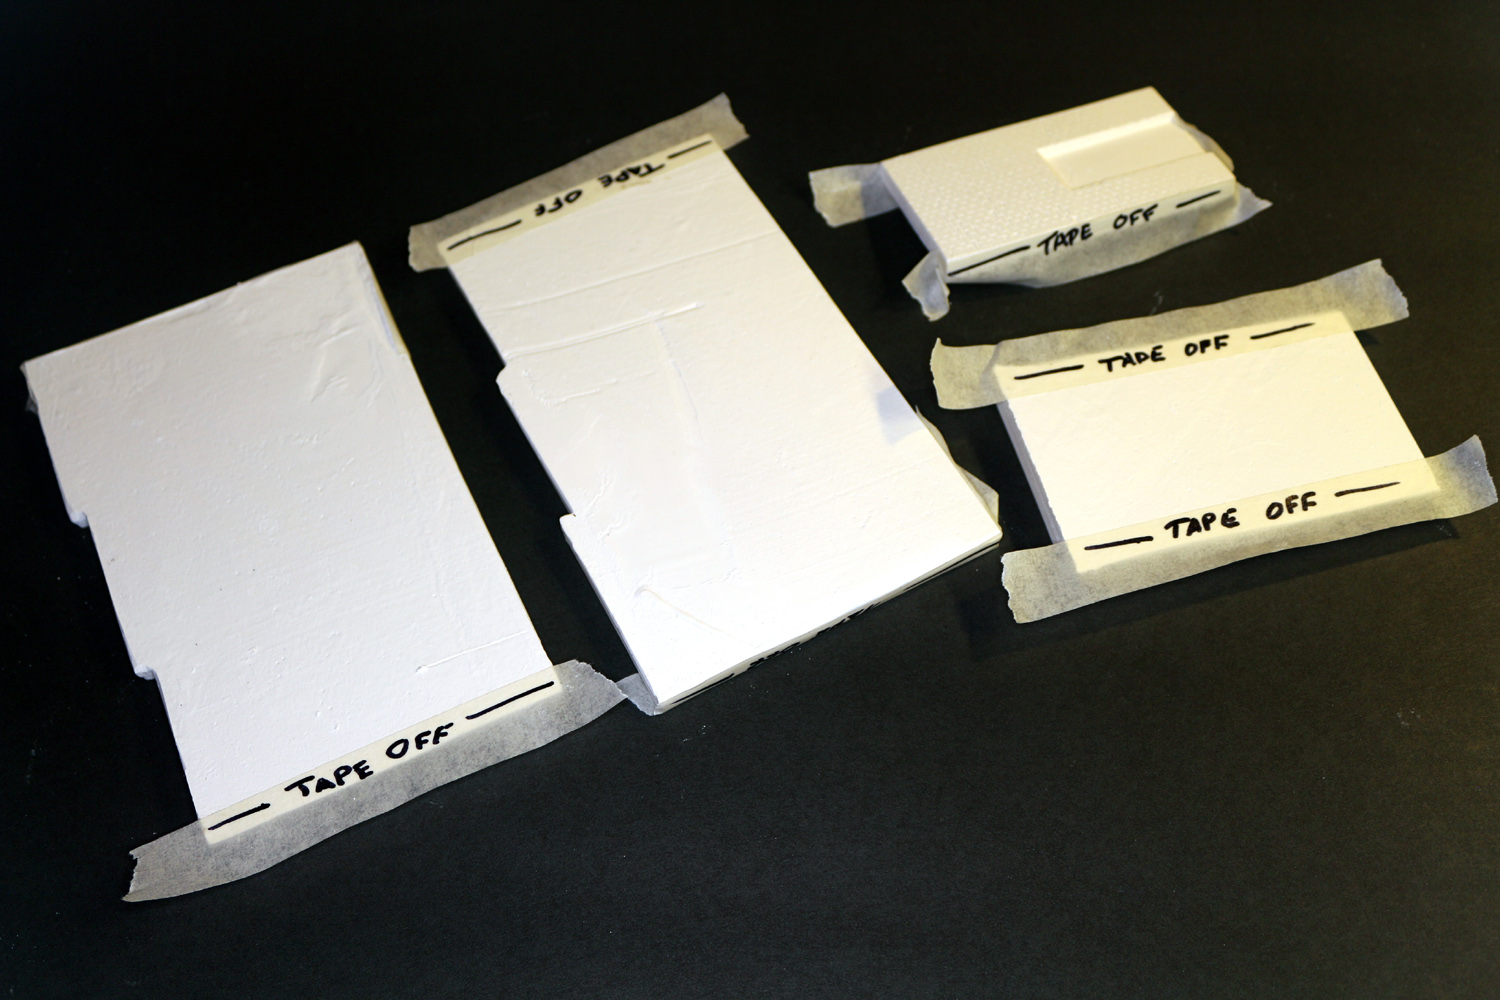
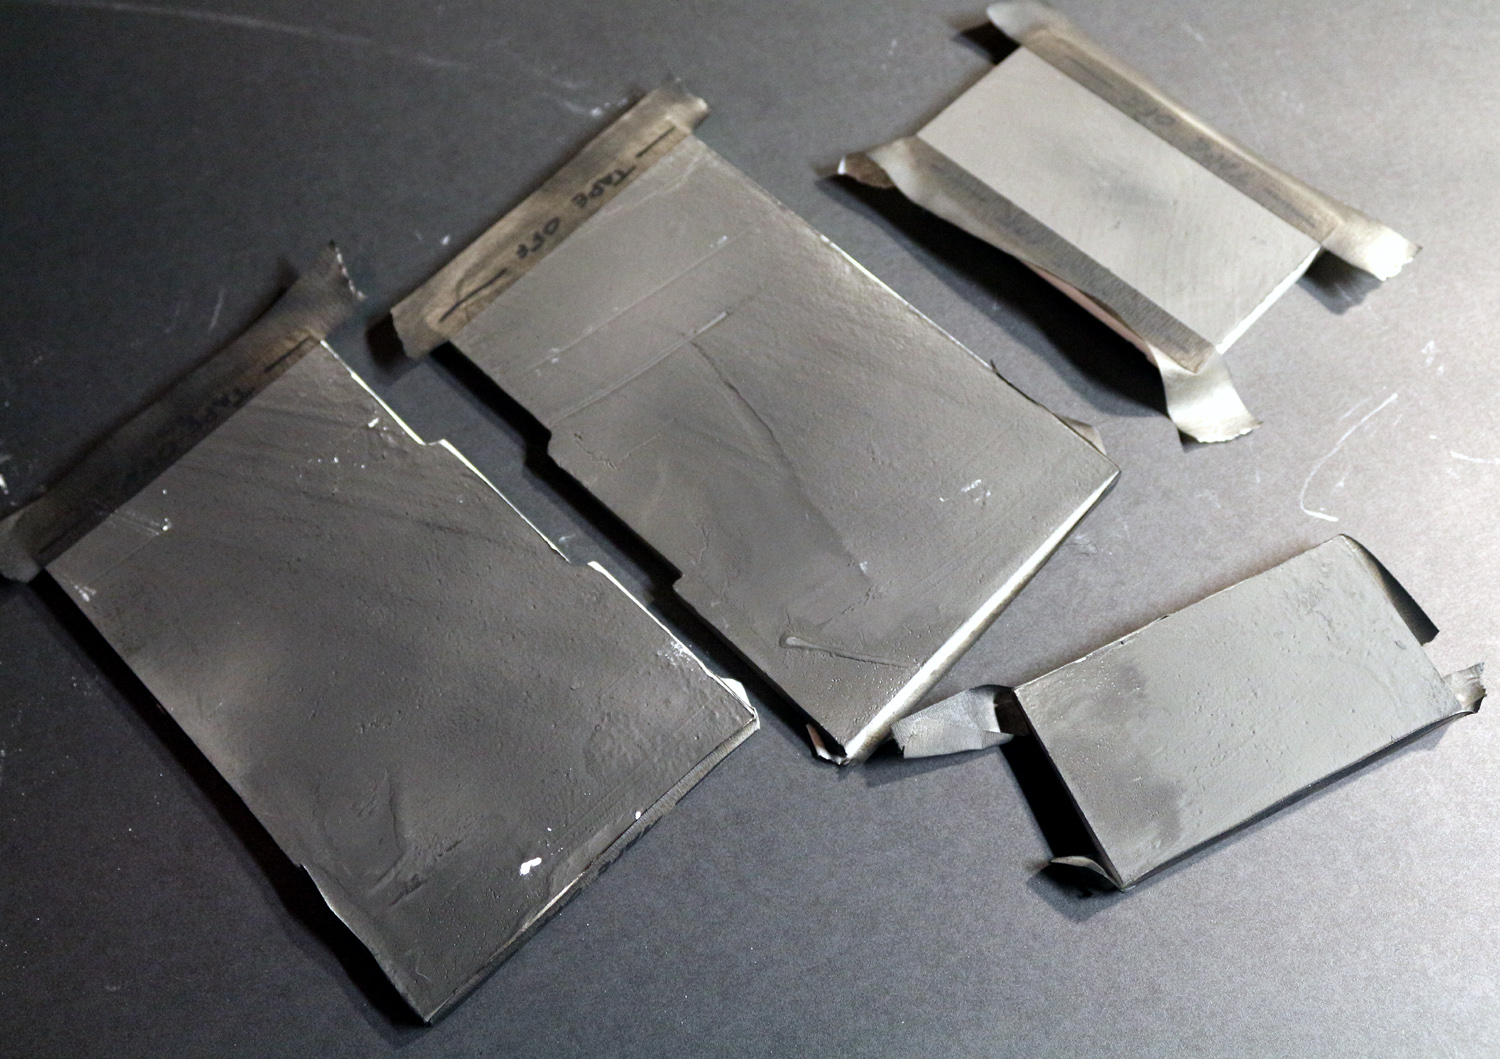
Now that you are happy with the dry fit of your model we want to prime the inside with black spray paint. Any cheap black spray paint with work. To start use a masking tape, tape off the glue ends of your model and in a ventilated area or spray box spray the inside walls of your model black. I find 2 or 3 light coats work fine. (Fig 6)
(Optional) You can spray the exterior walls white primer at this time, but I prefer to wait until I have assemble the walls. You really want Hydrocal to Hydrocal contact, paint creates a layer between the bonded surfaces which will great reduce your bonding.
STEP FOUR – GLUE (Epoxy) THE WALLS
First it is important to note the Hydrocal is very porous material and requires a thick glue like 5 min Epoxy for proper bonding and best results. So to avoid disappointment do not use glues such as CA Glue (Super Glue) model cement to glue up your walls as the Hydrocal will soak it up like a sponge.
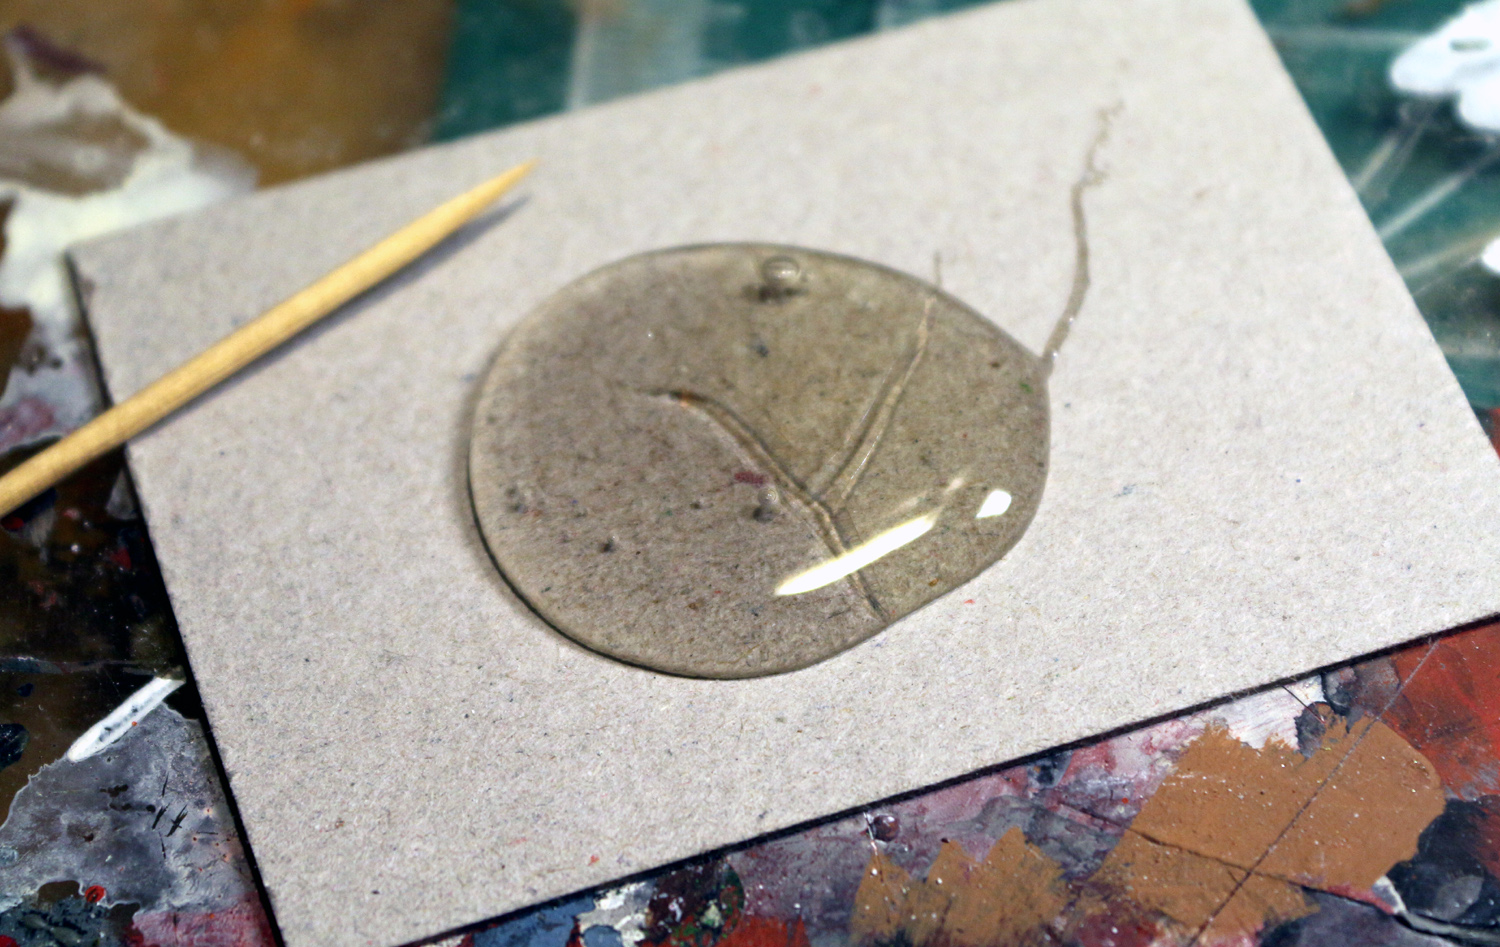
With that said mix up about a quarter size amount of Two Part Five Minute Epoxy (Fig 7). I use a toothpick to mix and apply the epoxy and I start with the front and one side wall applying a modest amount closer to the inside of the edge of the glue end to prevent excess epoxy from squeezing out. (Fig 8) It is best to start with gluing up a side wall and the back wall, the back wall is going to fit on the inside edge of the side wall, check your right angle and allow to dry. Repeat with the other side and again check your square and allow to dry. Now glue the end of the walls on the front and position the front walls to the two sidewalls and allow to dry.
Check the square of your walls and allow to dry, while the epoxy will set up in about 5 minutes, I like to allow a longer cure time to insure a proper bond and eliminate the chance of your walls shifting. Finish gluing up your walls.
STEP FIVE – PRIME EXTERIOR WALLS
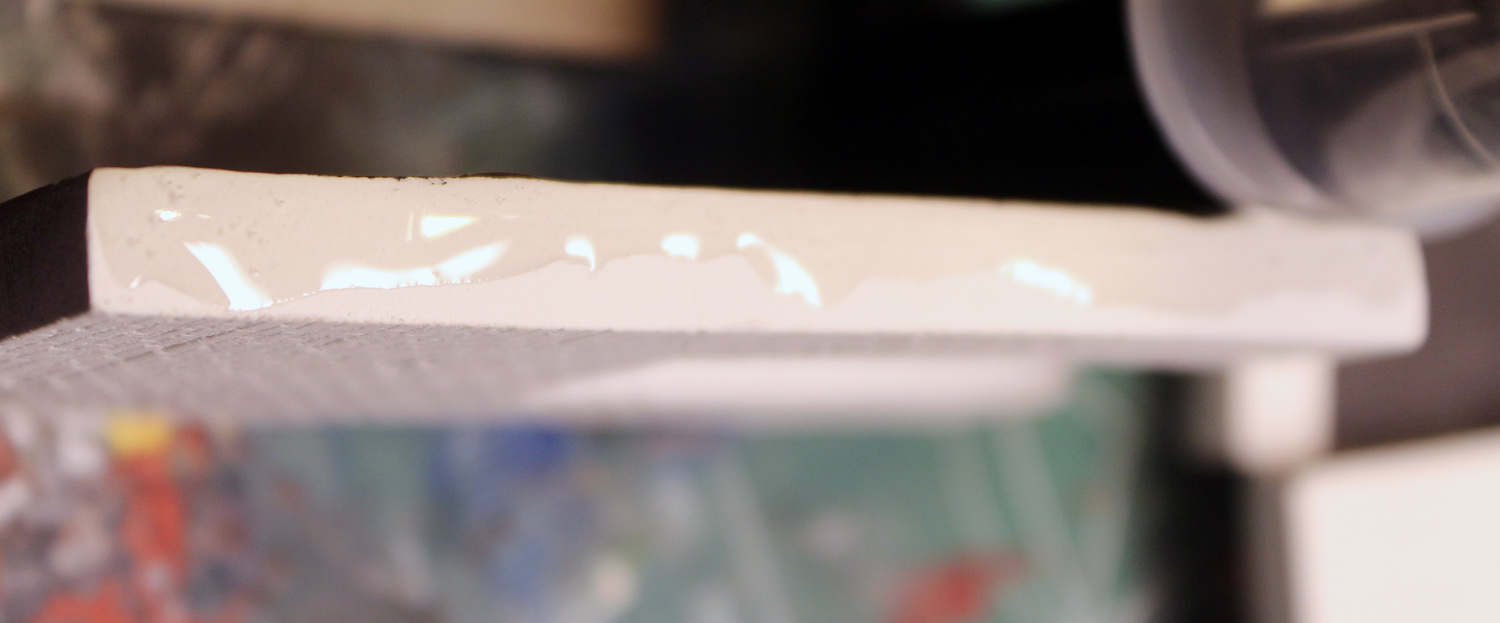
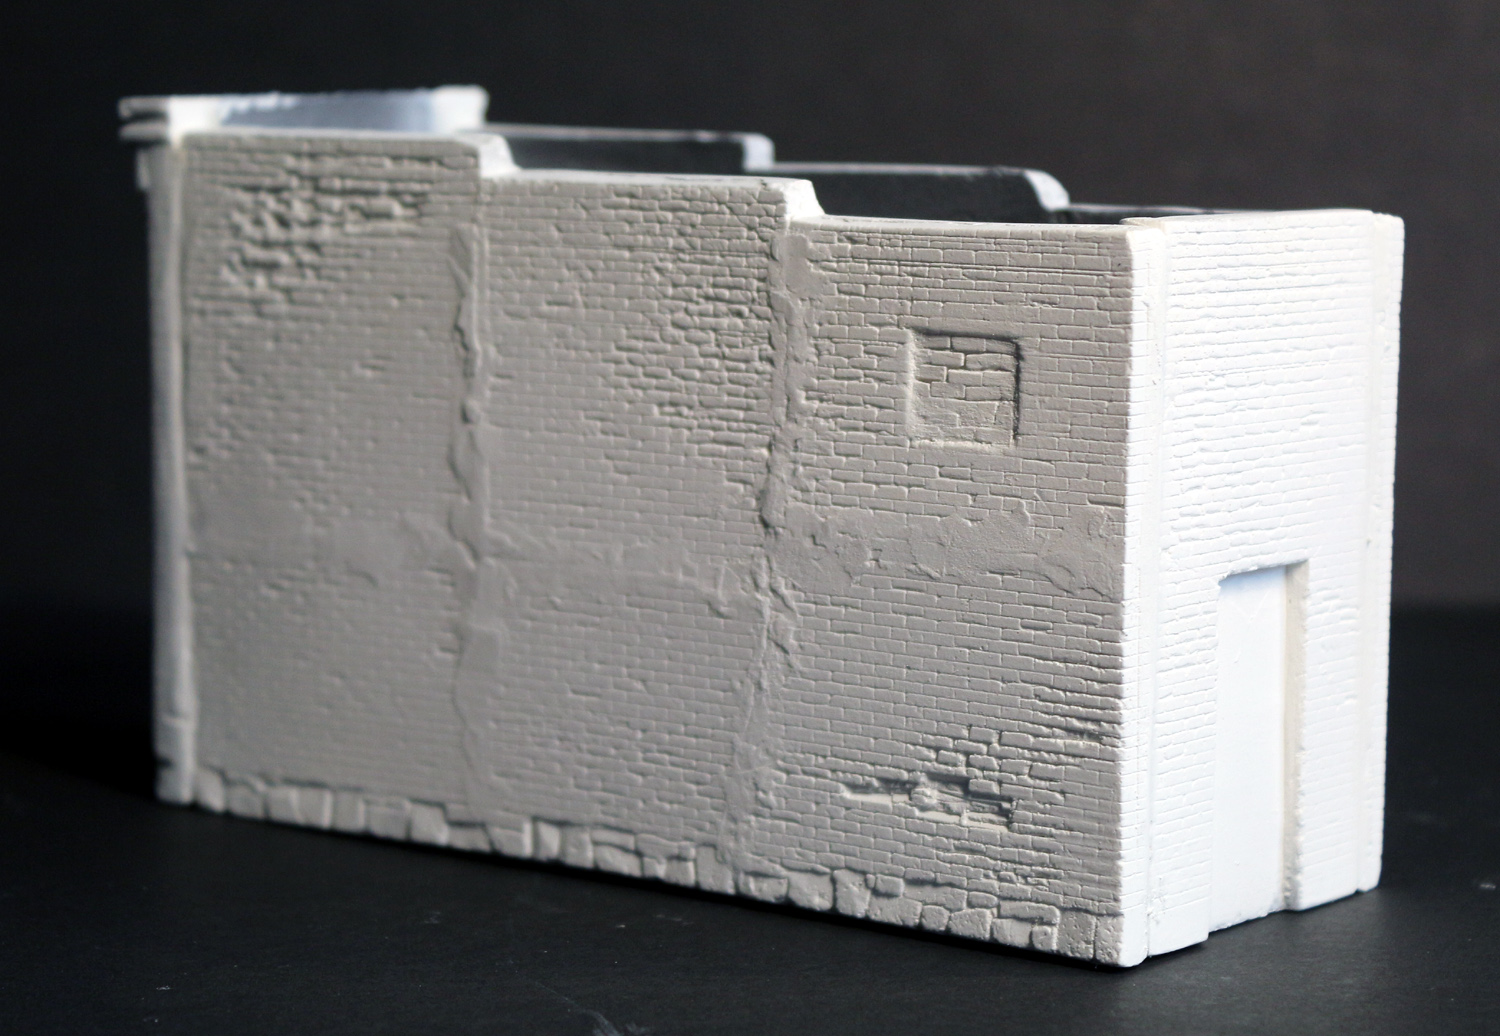
After the epoxy has fully cured check the fit of all you joints and if you should happen to have gaps sculpting paste or model putty may be used to filled them. Use care to not get any on your brick as you could fill in your mortar joints. If this is require apply, allow time to dry. (HINT: Hydrocal is somewhat soft and if you need to re-cut some of your brick on your corners a hobby knife of razor works great and now is the time to do it.) Once your paste or filler (if needed) is dry apply a few (2 or 3) light coats of primer. Any cheap white spray paint will do. (You may use gray, brown, red or your choice of primer color for variation in finish) (Fig 9) It is very important you do not skip the priming step – due to the porosity of Hydrocal to begin applying your paint without primer will result in splotchy uneven disappointing paint job.
STEP SIX -INTIAL PAINTING
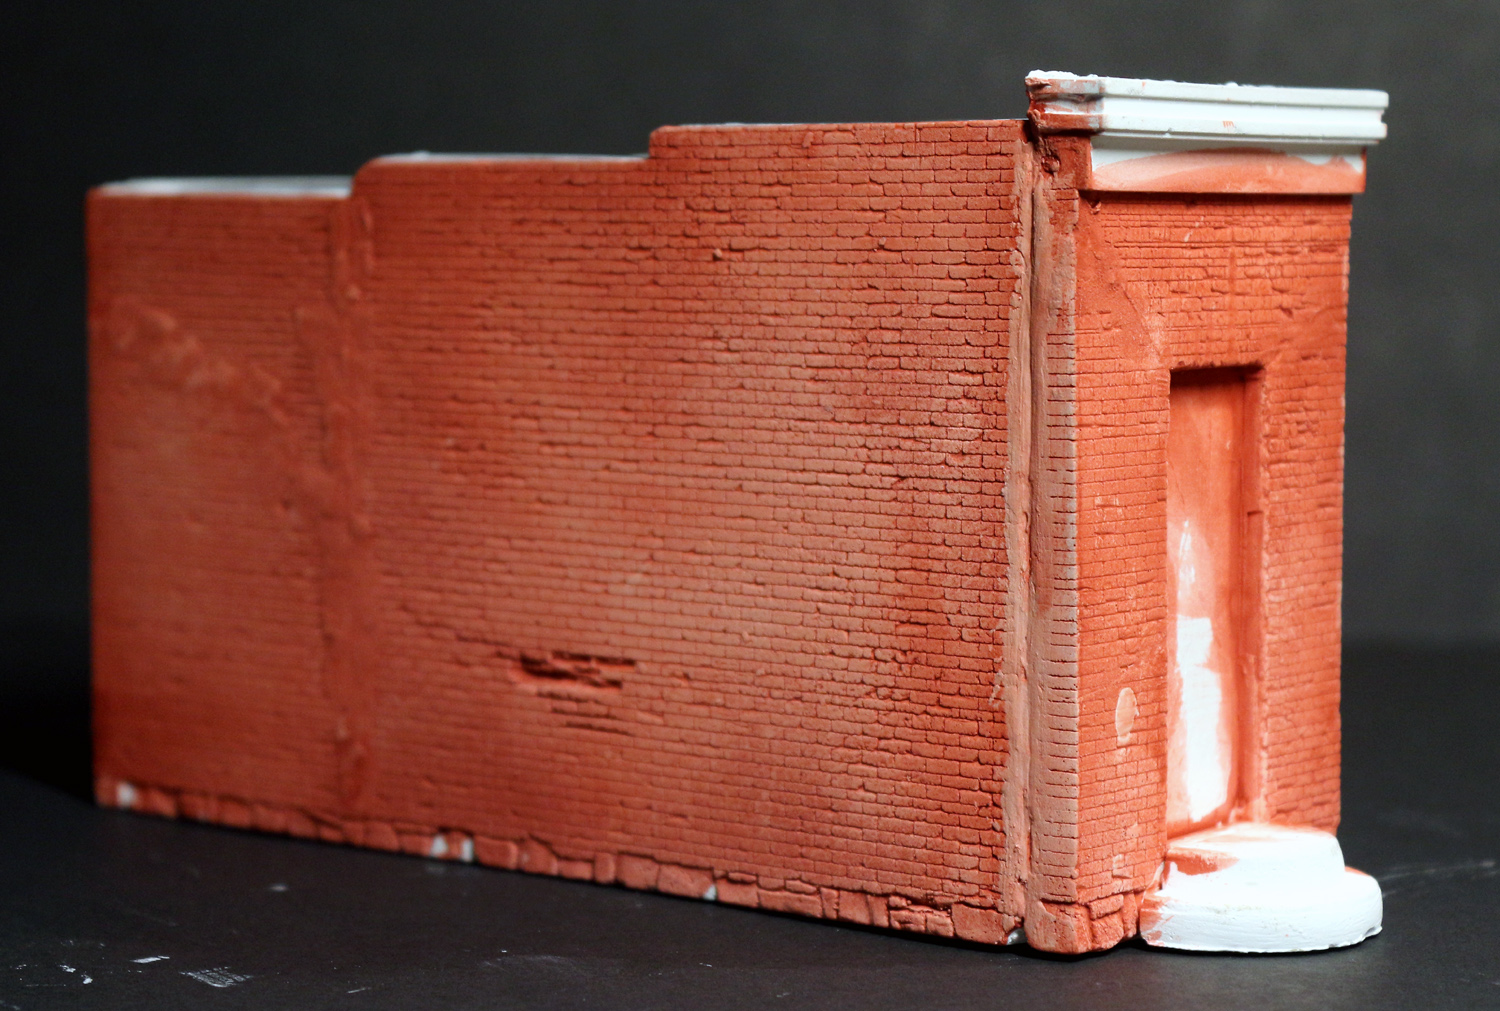
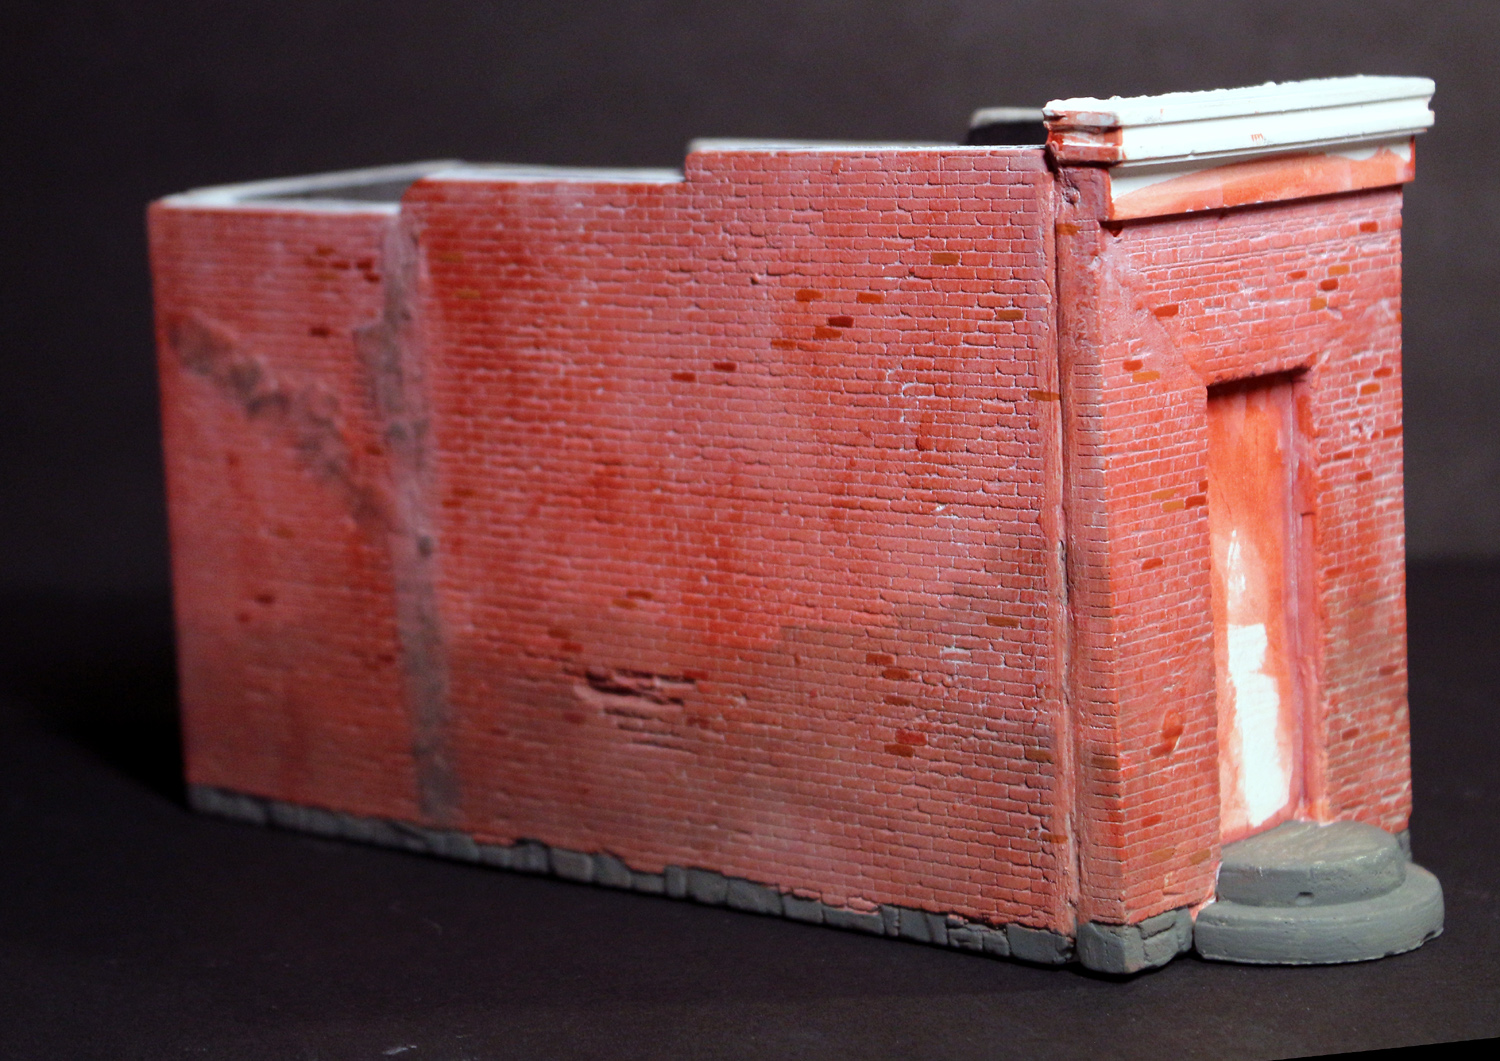
Colors are really your choice, I’m using a brick red that I mix about 75% water to make a very fluid wash that I apply with a cheap 1″ to 2″ China bristle brush. (Fig 10) You can apply one coat or multiple coats allow to dry between coats depending on how dark you want your building. One your base color is dry you can add additional weathering and white washes to lighten mortar lines. At this point I do about half the final weathering before applying decals. Additional painting such as dry brushing the brick with bring out more brick detail and give greater depth, you may also want to randomly pick a few bricks to paint another color for added realism. (Fig 11)
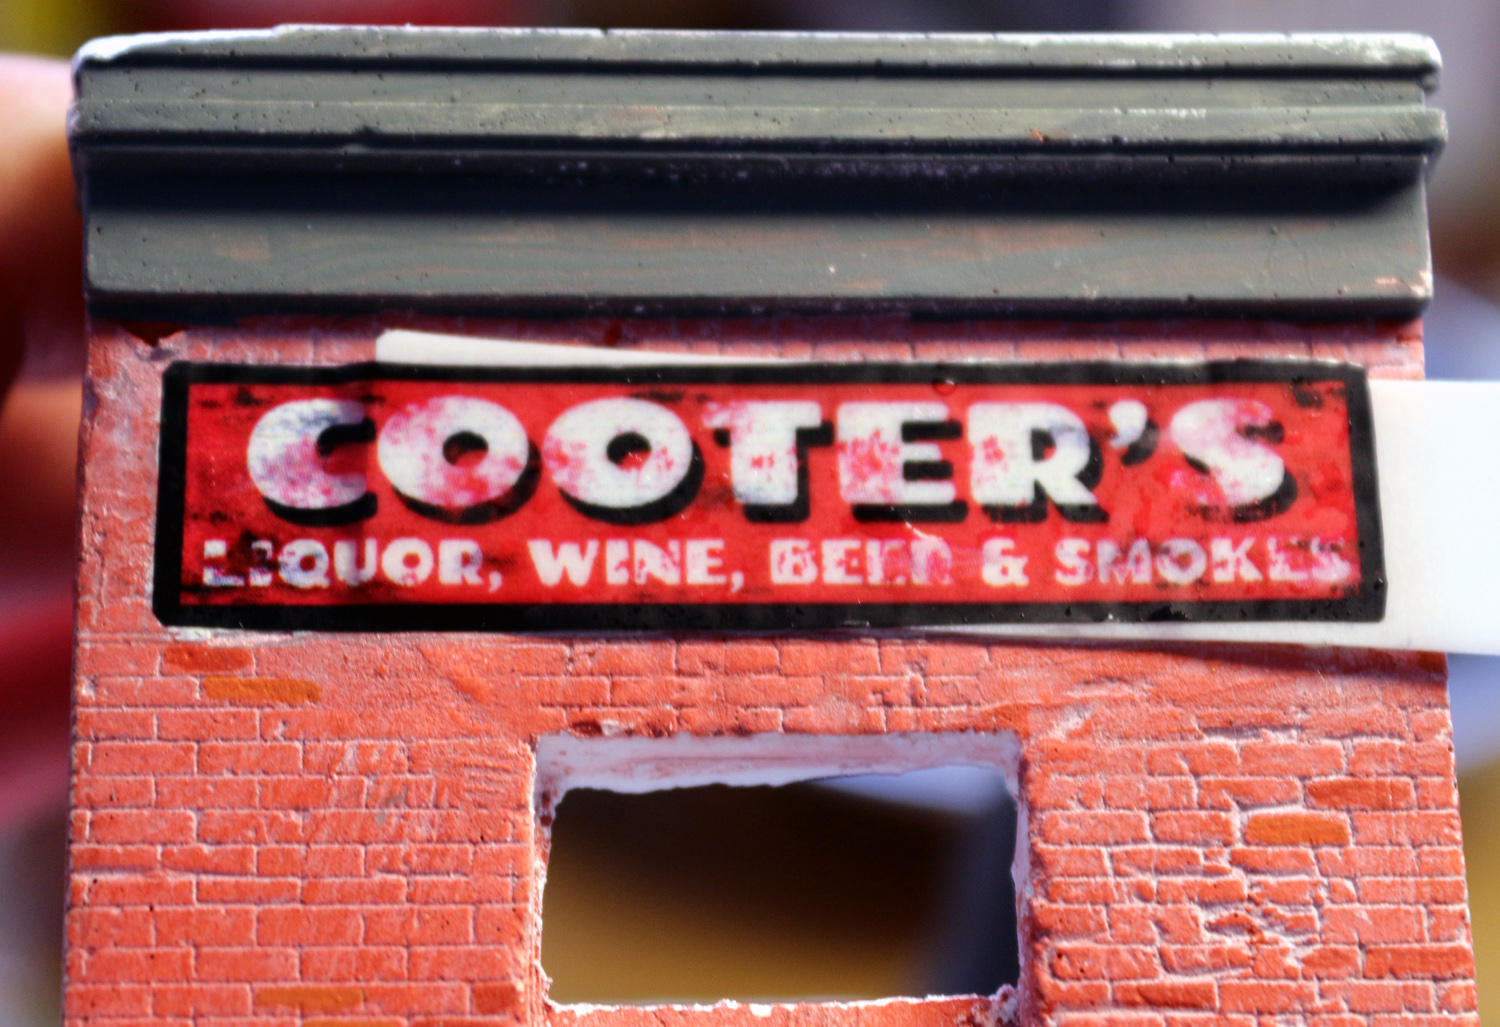
STEP SEVEN – APPLYING DECALS FOR A PAINTED ON LOOK
WHITE and/or CLEAR waterslide decals may be used, for these instructions I’m using CLEAR decals on a dark surface (the building) and WHITE for the hanging signs. WHITE pretty straight forward, cut out and apply and set.
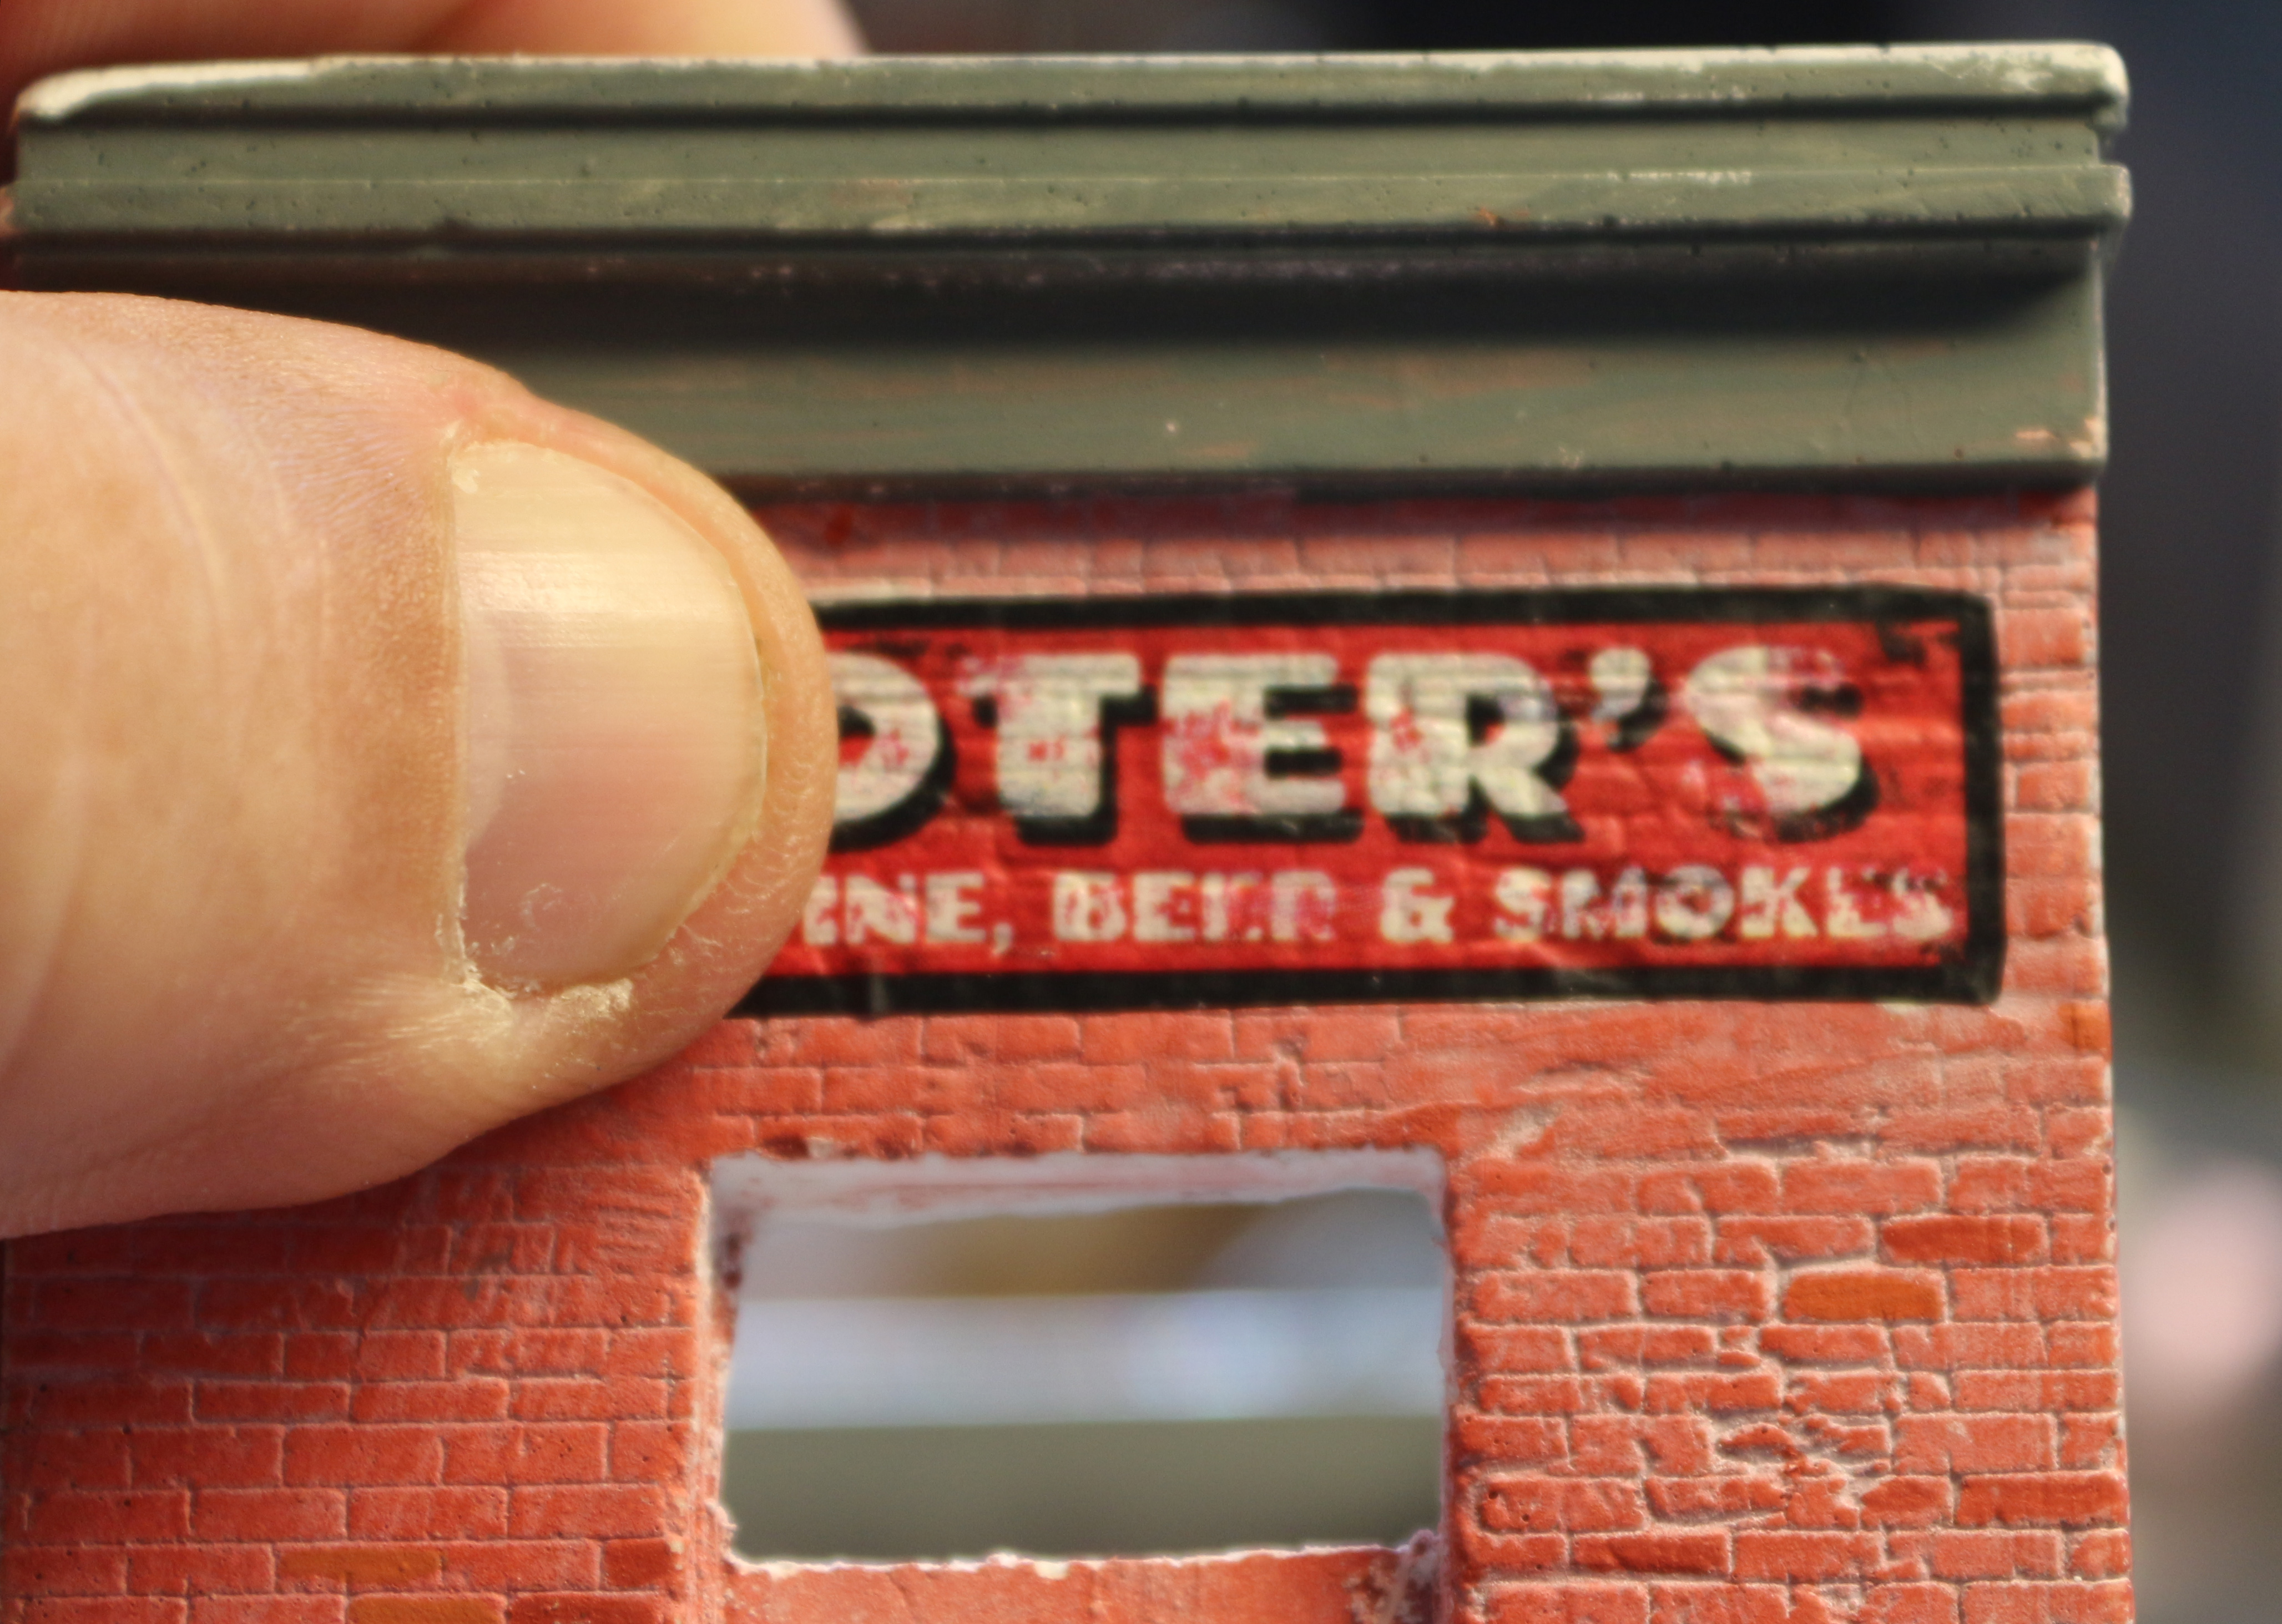
First carefully cut out your decals and decide on placement. For CLEAR decals lightly mark the boarder of the location with a pencil enough that you can see it, within these lines you want to paint that area white or another light color based on the look you are trying to achieve. (Fig 12) Allow to dry and then check you decal over your painted area if this is good soak your decal for 30-60 seconds until it slide easily on the carrier film. Place one end on the model were you want it and slide the carrier film out, adjust your decal placement as needed. (Fig 13) Gently but firmly roll your thumb or finger over the surface from edge to edge forcing any water and air out from under it. This keep doing this until you get your decal to conform to the underlying texture of the kit. When you feel that you have removed all the air and water apply a decal setting solution and allow to dry. (Fig 14) Do this for the rest of your decal if you are using CLEAR.
Using either WHITE or CLEAR use a thin white (or gray) wash cover your decal and allow to dry, when dry you and gently rub off the white on the raised areas the give depth to the mortar lines. At this time you can apply all your decals and repeat this process. Any additional weather you’d like can be applied now too.

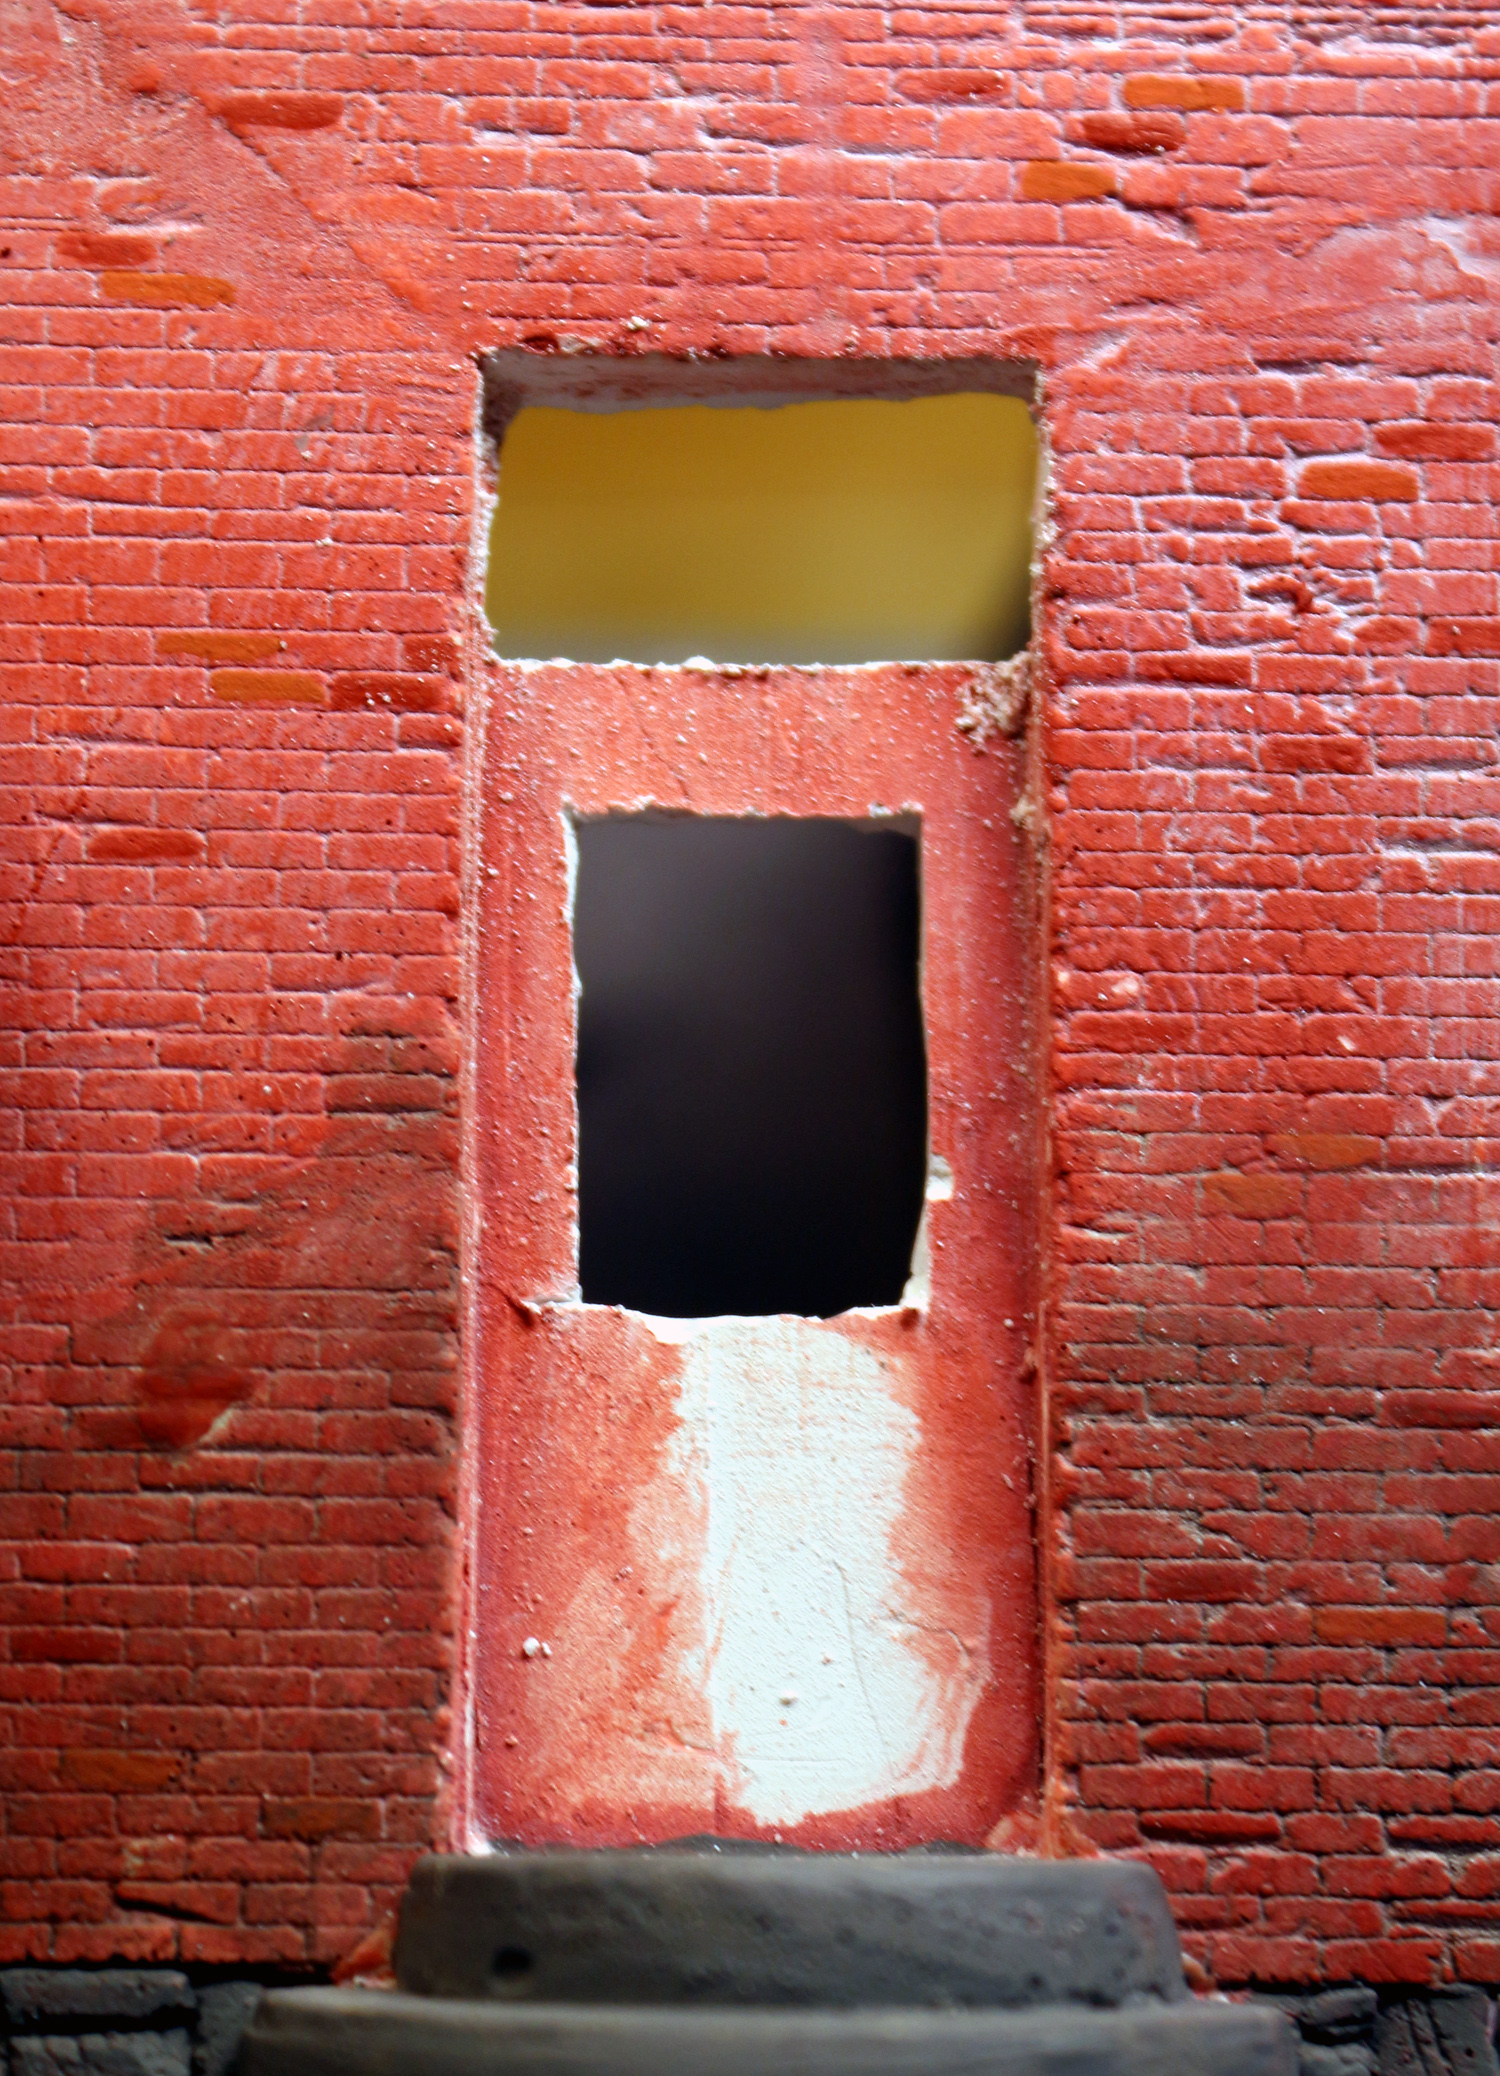
STEP EIGHT (OPTIONAL) – CUTTING OUT WINDOWS
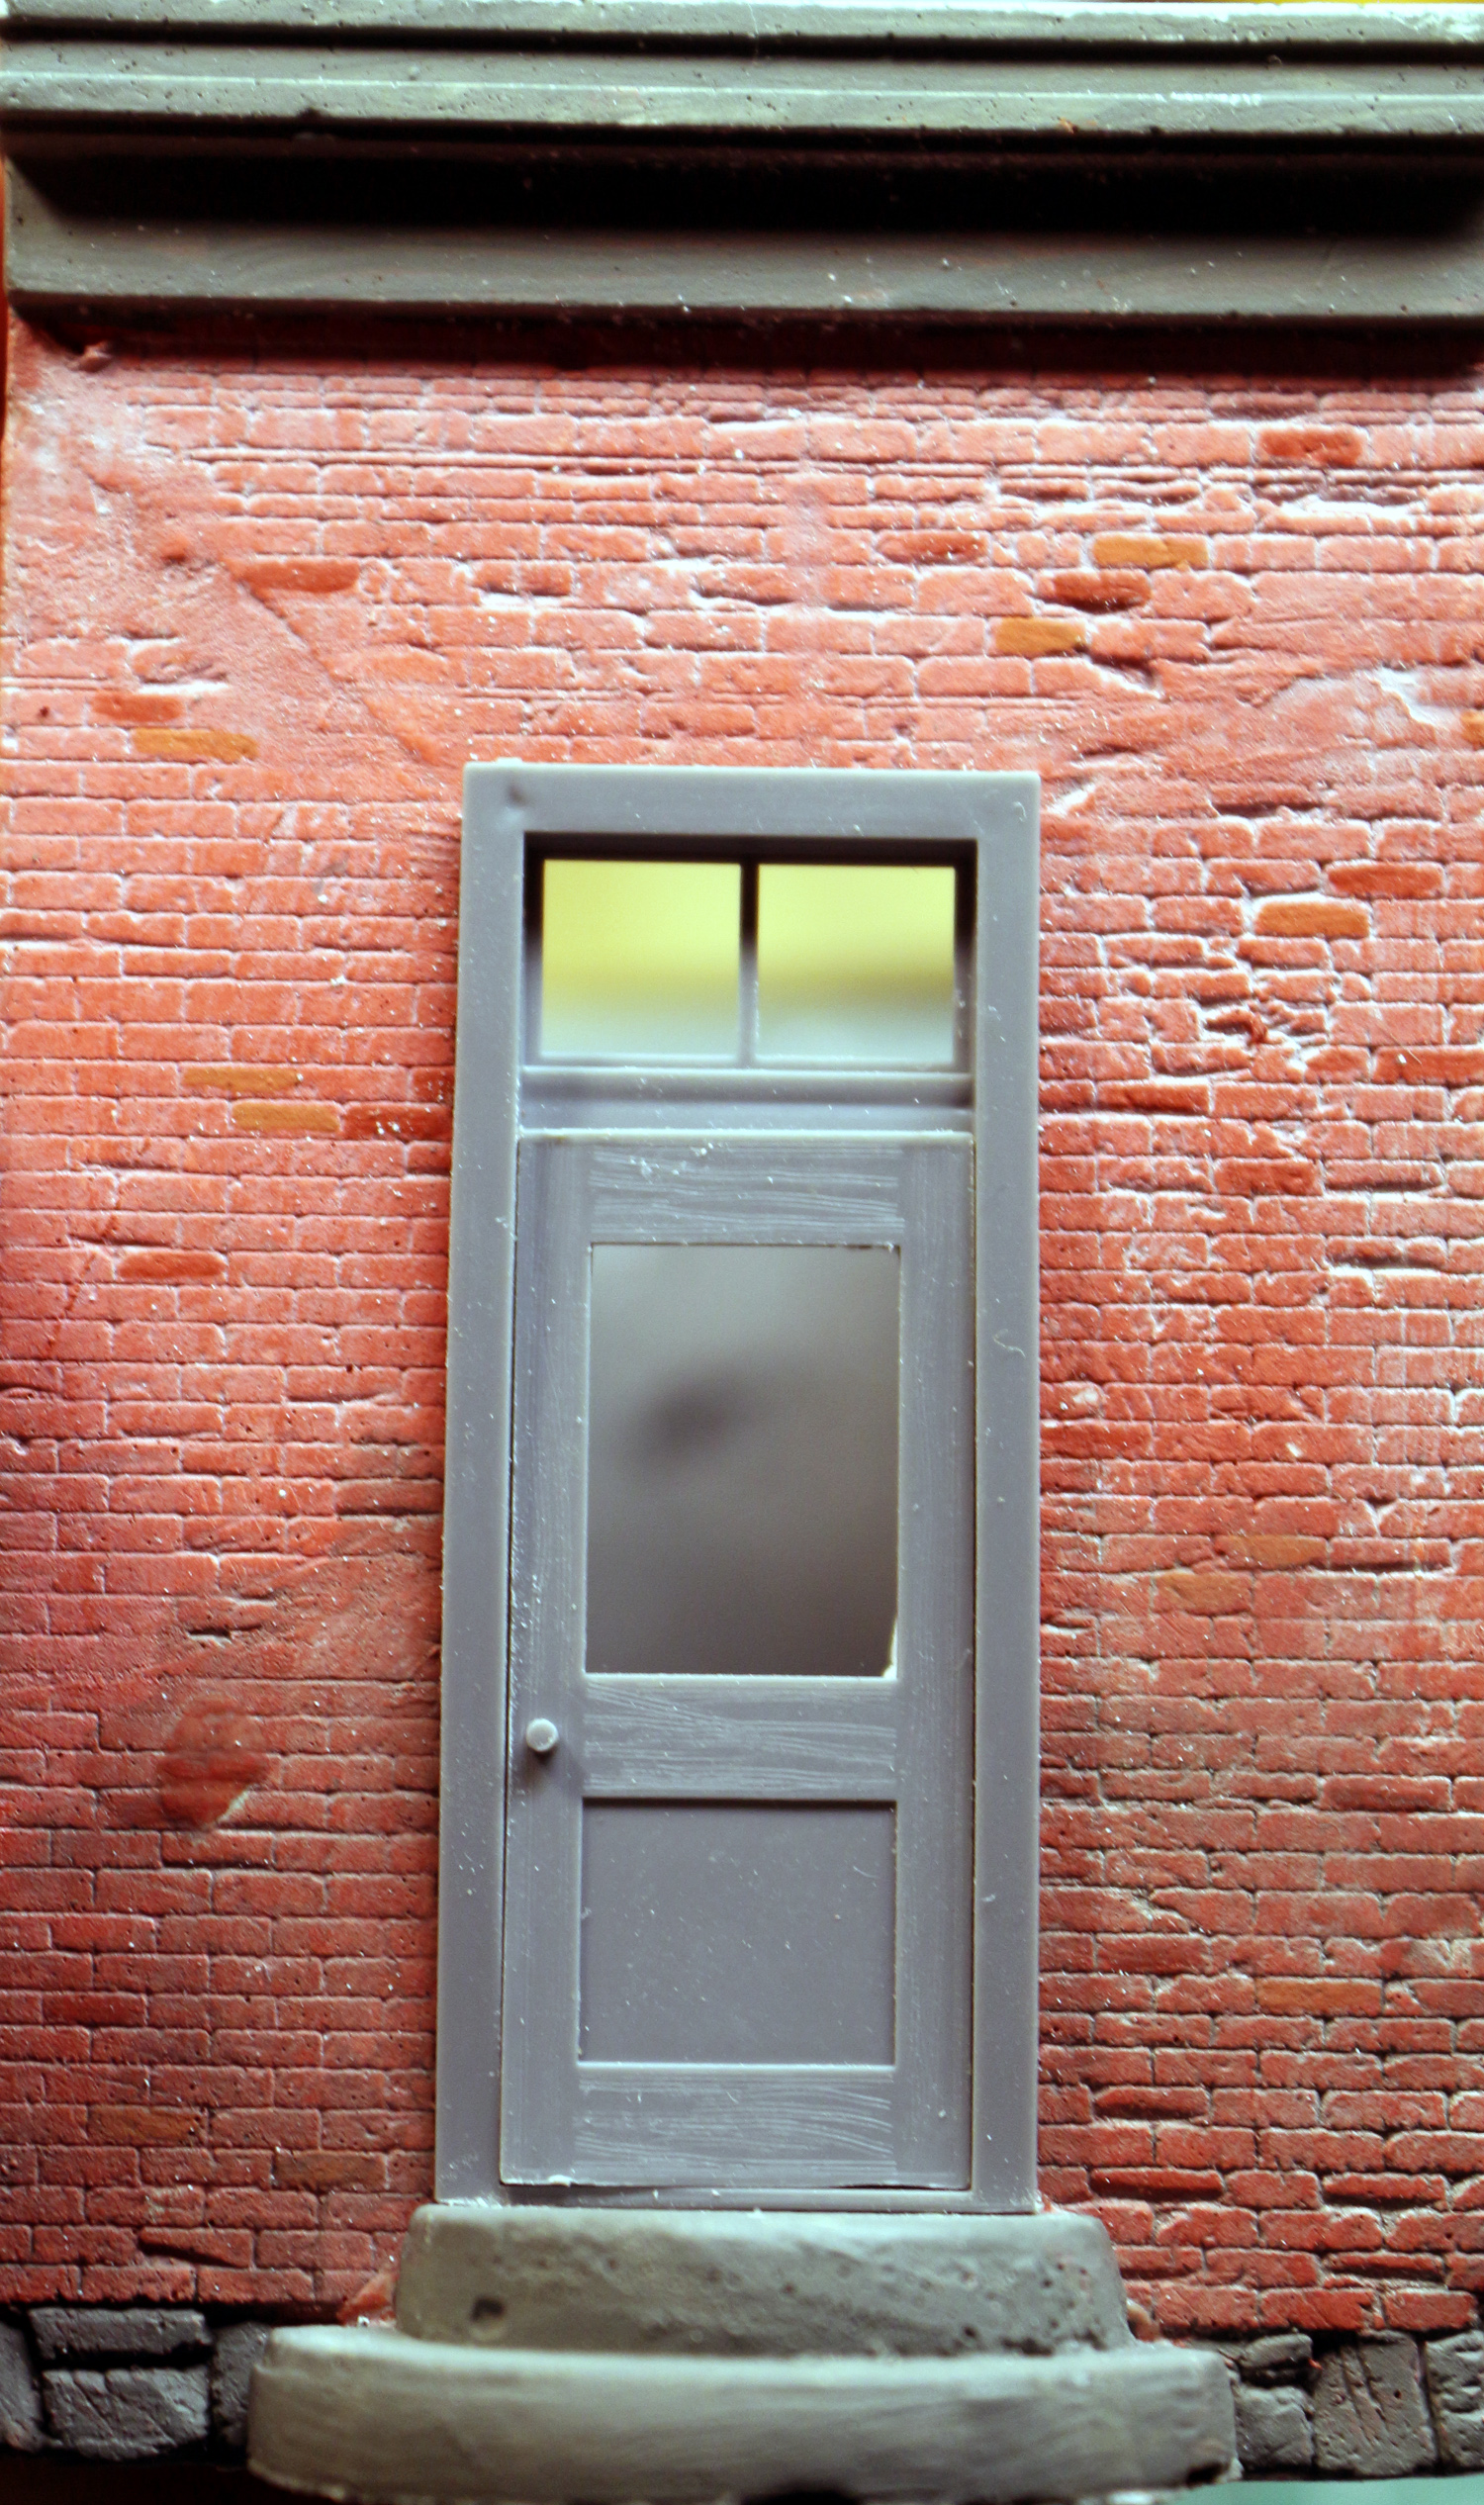
I made the decision to add the opening after I painted the building, but this can be and is easier to be done before assembly. Cutting Hydrocal is a little different from other materials. depending on the thickness of the area you are going to cut out. In thin areas you can score the outline of you window location and eventually get through the Hydrocal take you time as you do not want to break your Hydrocal. Another method if using thicker Hydrocal is to drill a hole on the inside of the corners of the planned opening and with a carving tool you can carve out the opening for a door or window. (Fig. 15) Dry fit your door or window (Fig 16)
STEP NINE – BUILDING A SIGN (OPTIONAL)
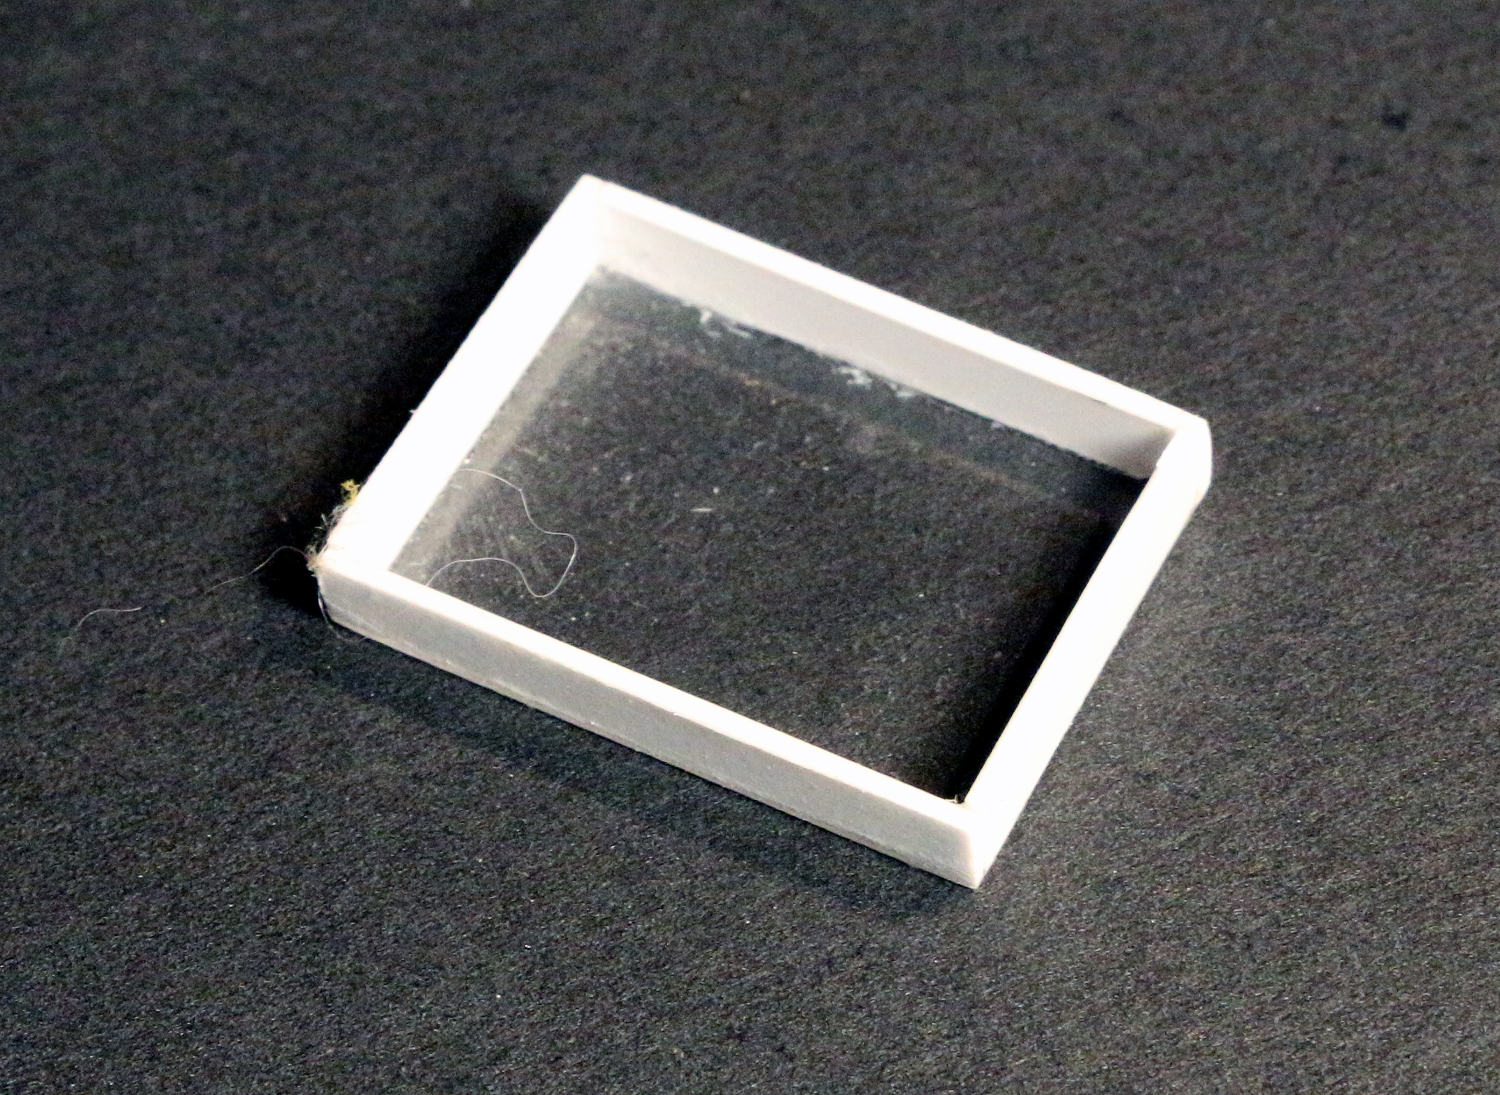
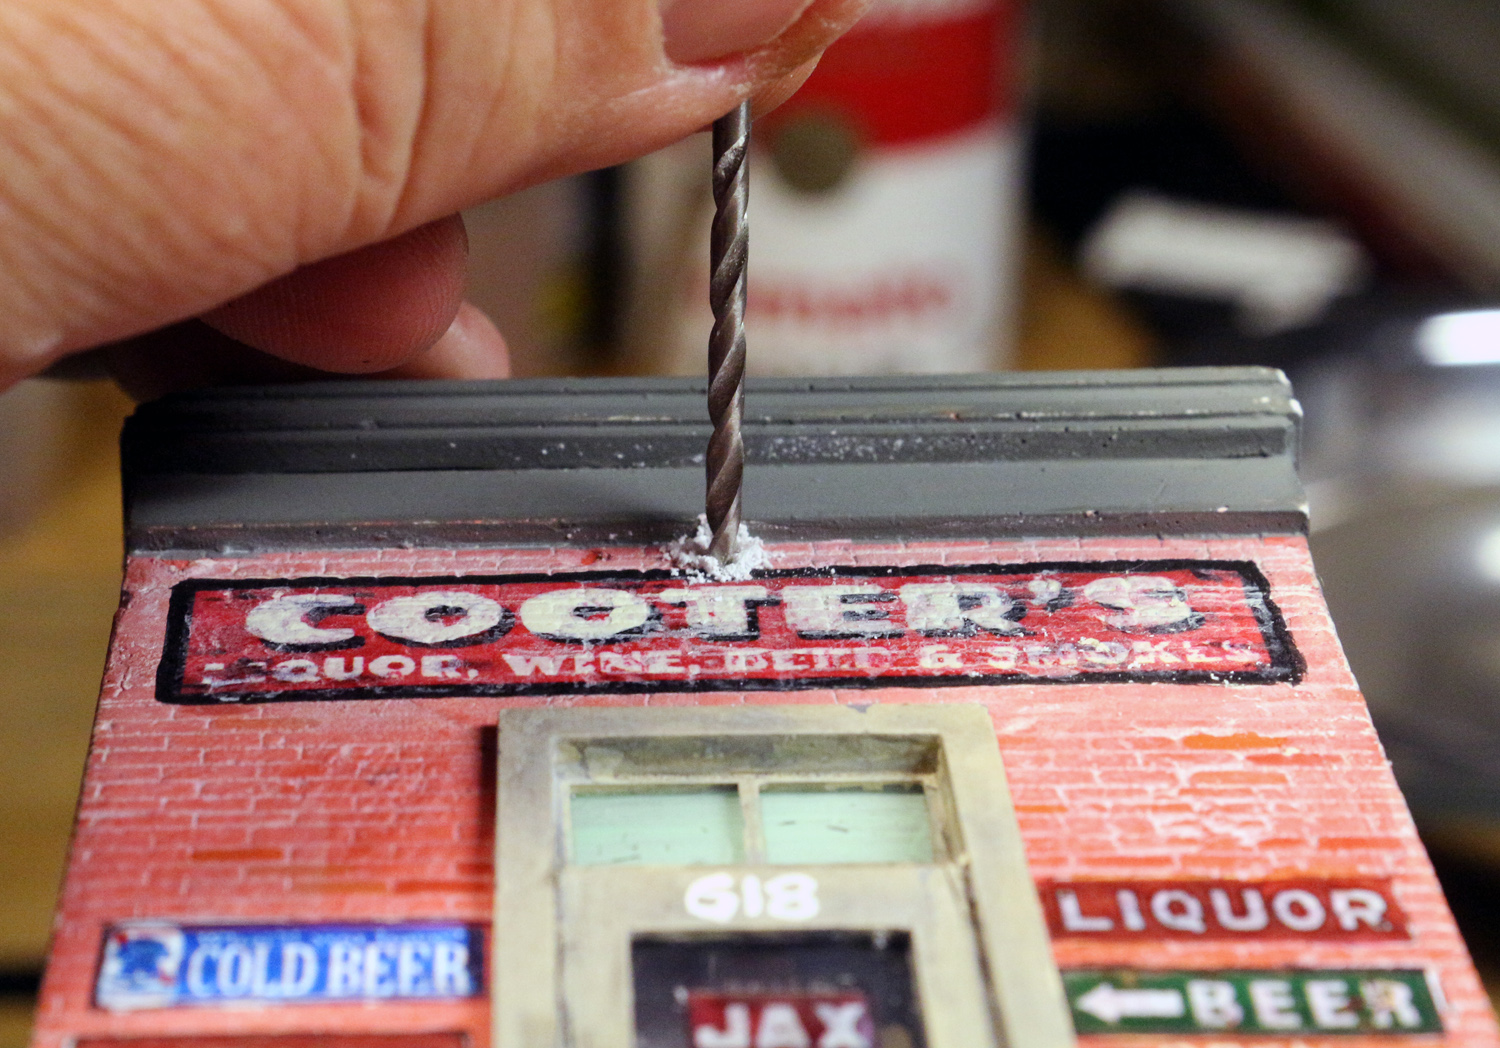
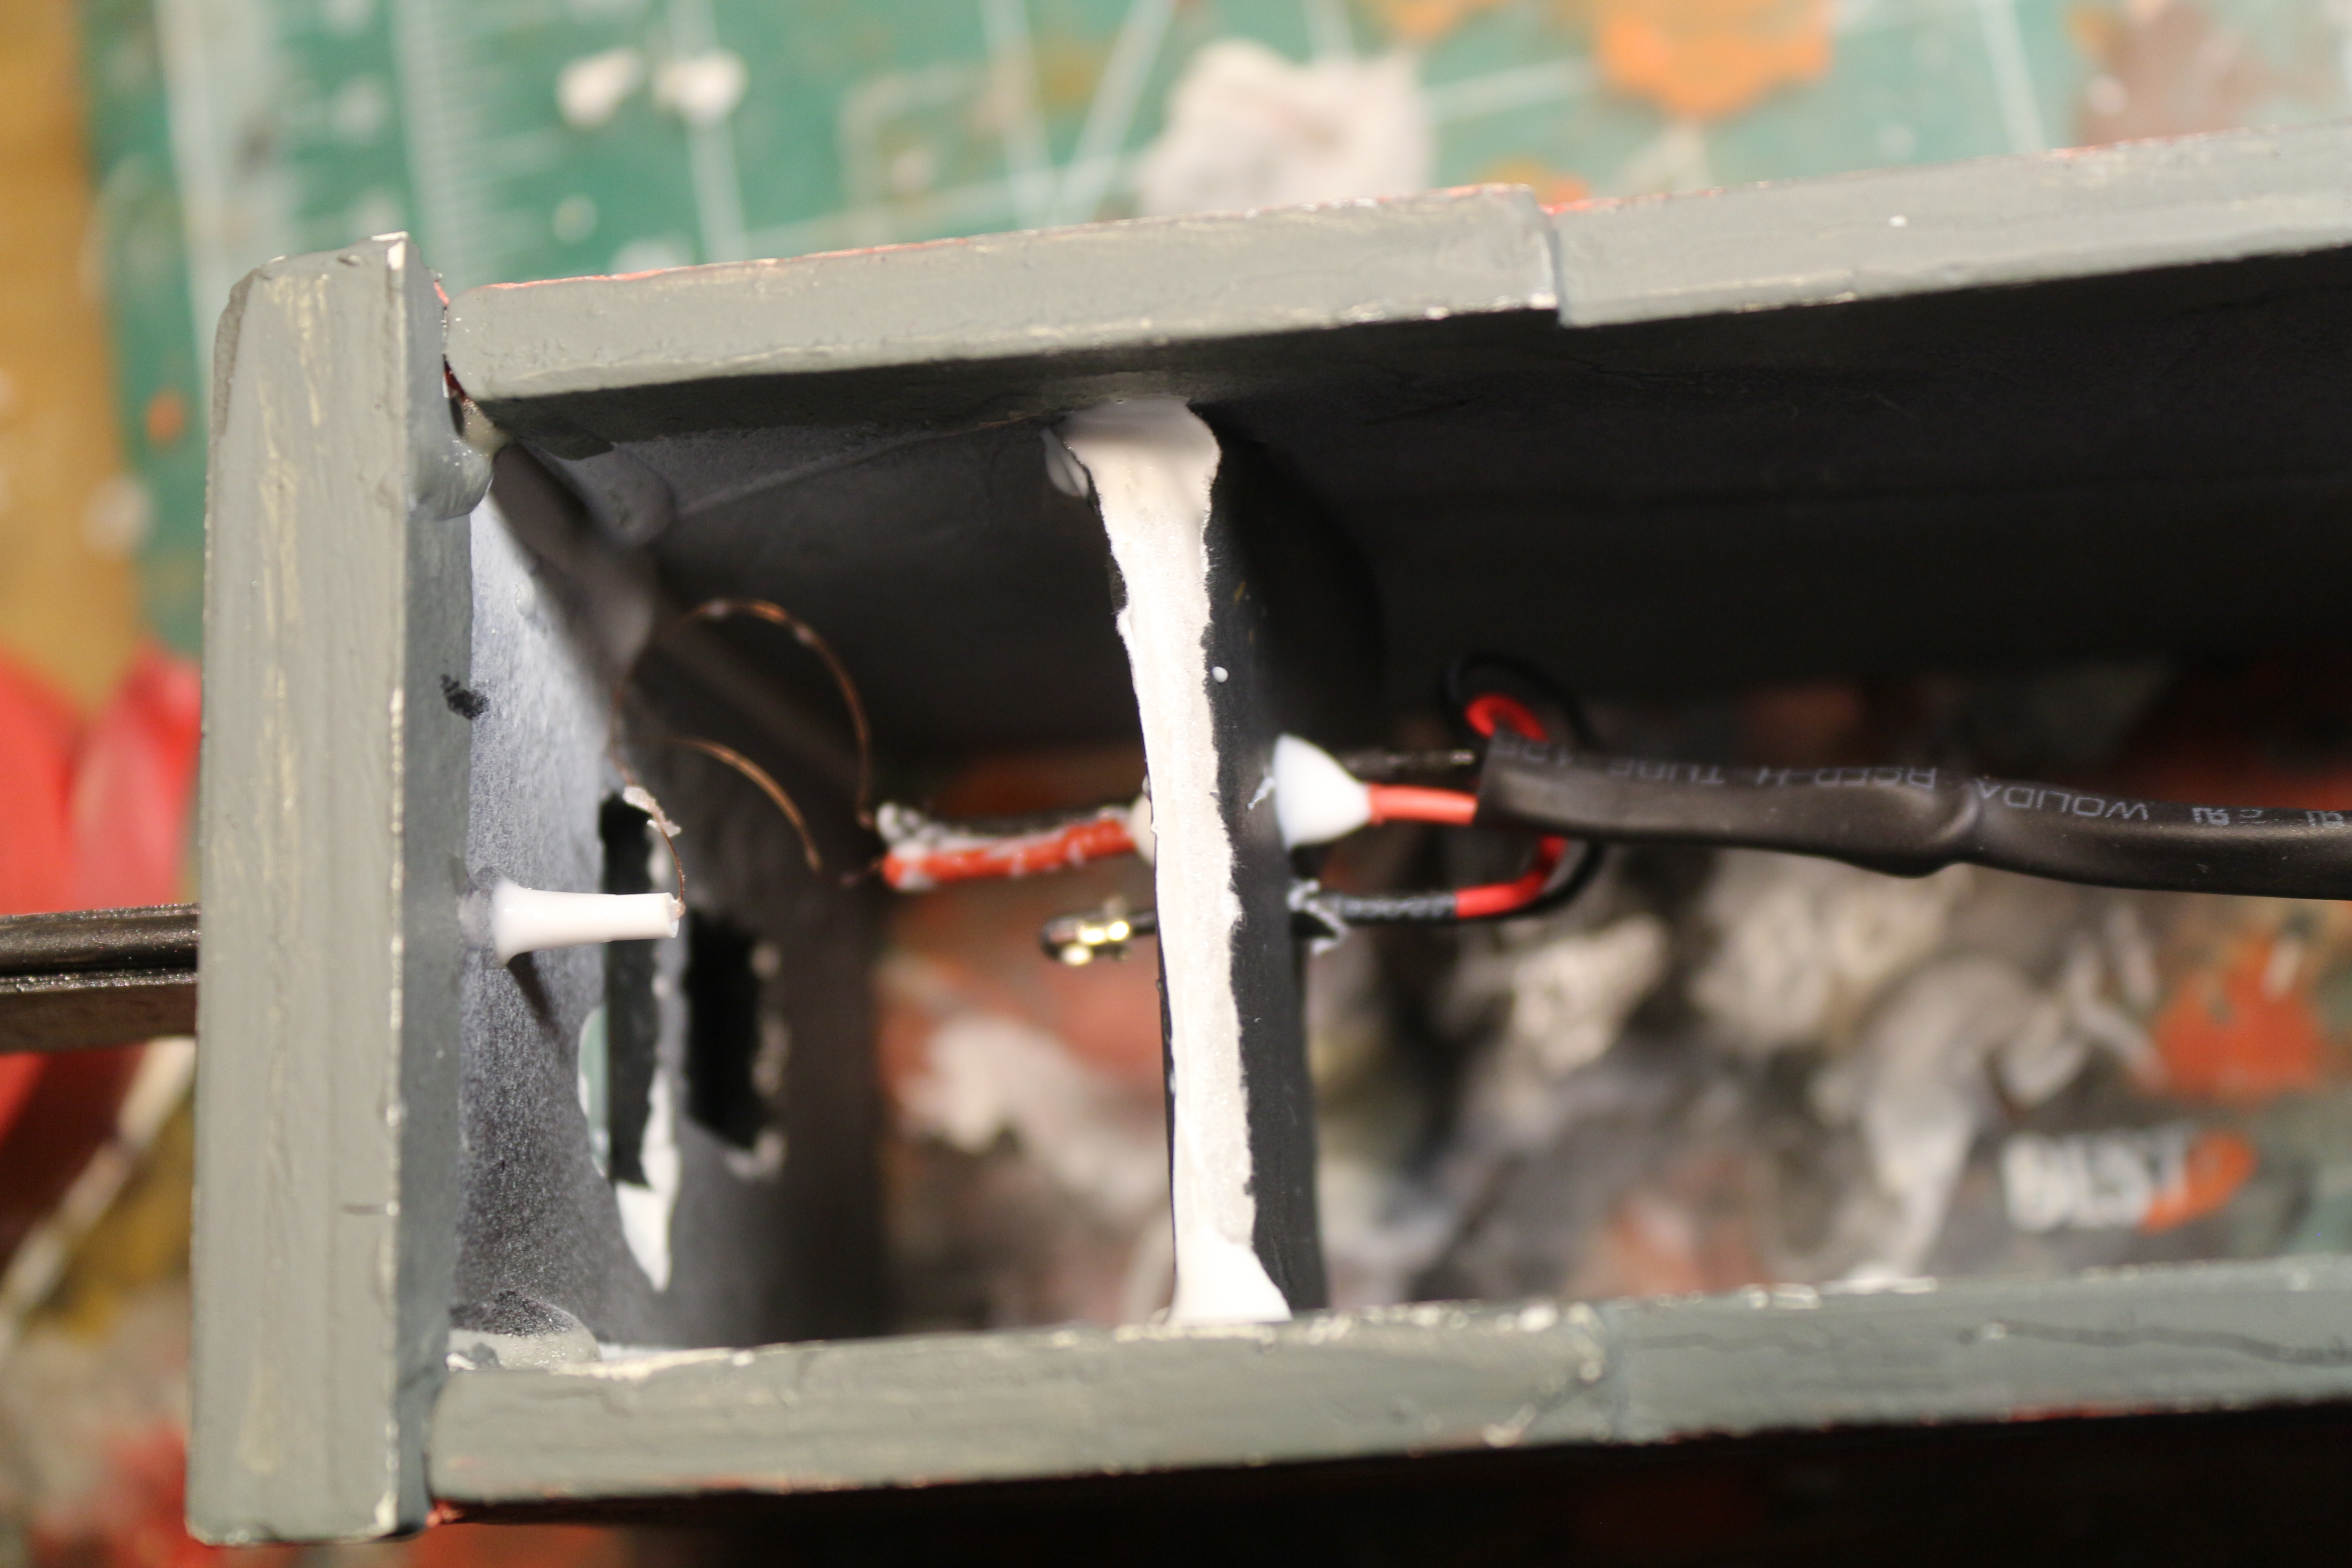
To build a sign first cut your parts to length based on your sign decal size you’ll need styrene strips, acetate, styrene rod, SMD LED and your sign decals (Fig 17) – cut a notch about the center of your sign location on what ever length tube you need and thread a SMD LED through a the smallest diameter tube you can fit the wired through in this case .10″ Styrene tube (Fig 18) Based on the size of your signage, cut your acetate to fit and styrene strips to make the frame, (Fig 19) drilling a hole in the top of the sign to feed your SMD LED through, carefully feed your light through the hole and glue the styrene tube. (Fig 20) Drill a hole where you what your sign located the size of your tubing (Fig 21) and now you can solder you resistor to your longest lead of your LED (Fig 22) The longest lead is the positive side, this is the one your resistor is soldered to. Glue you tube in place (Fig 23) and finish applying the decals to your sign, seal and weather as desired.


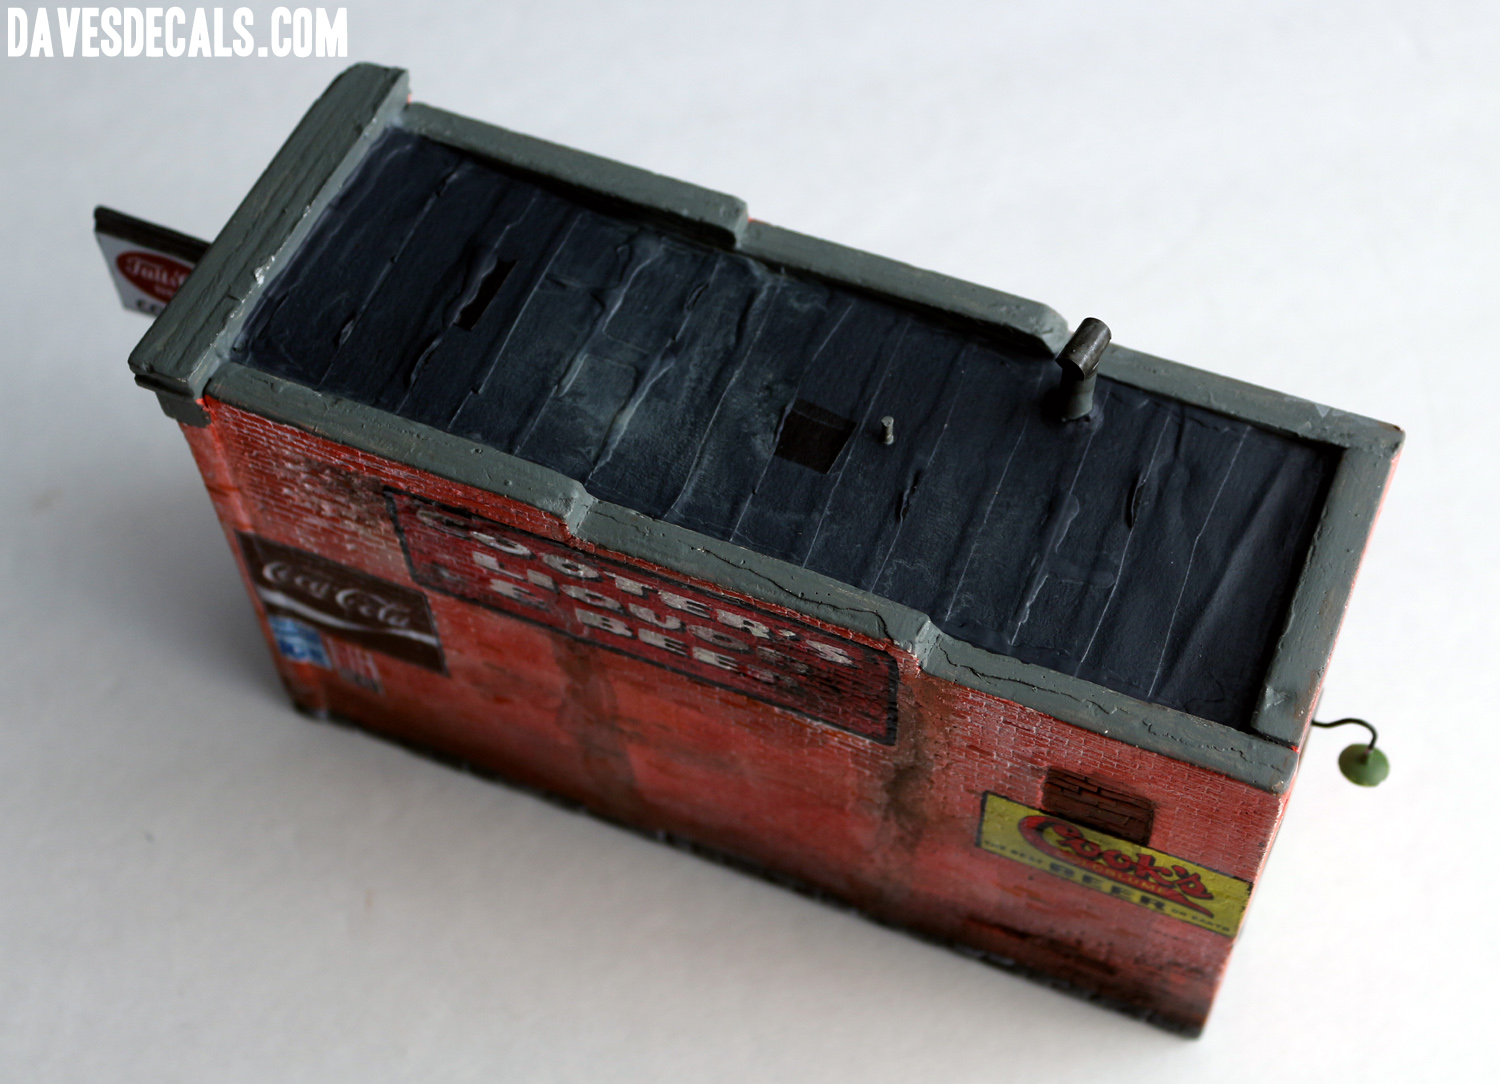
STEP TEN – ROOFING
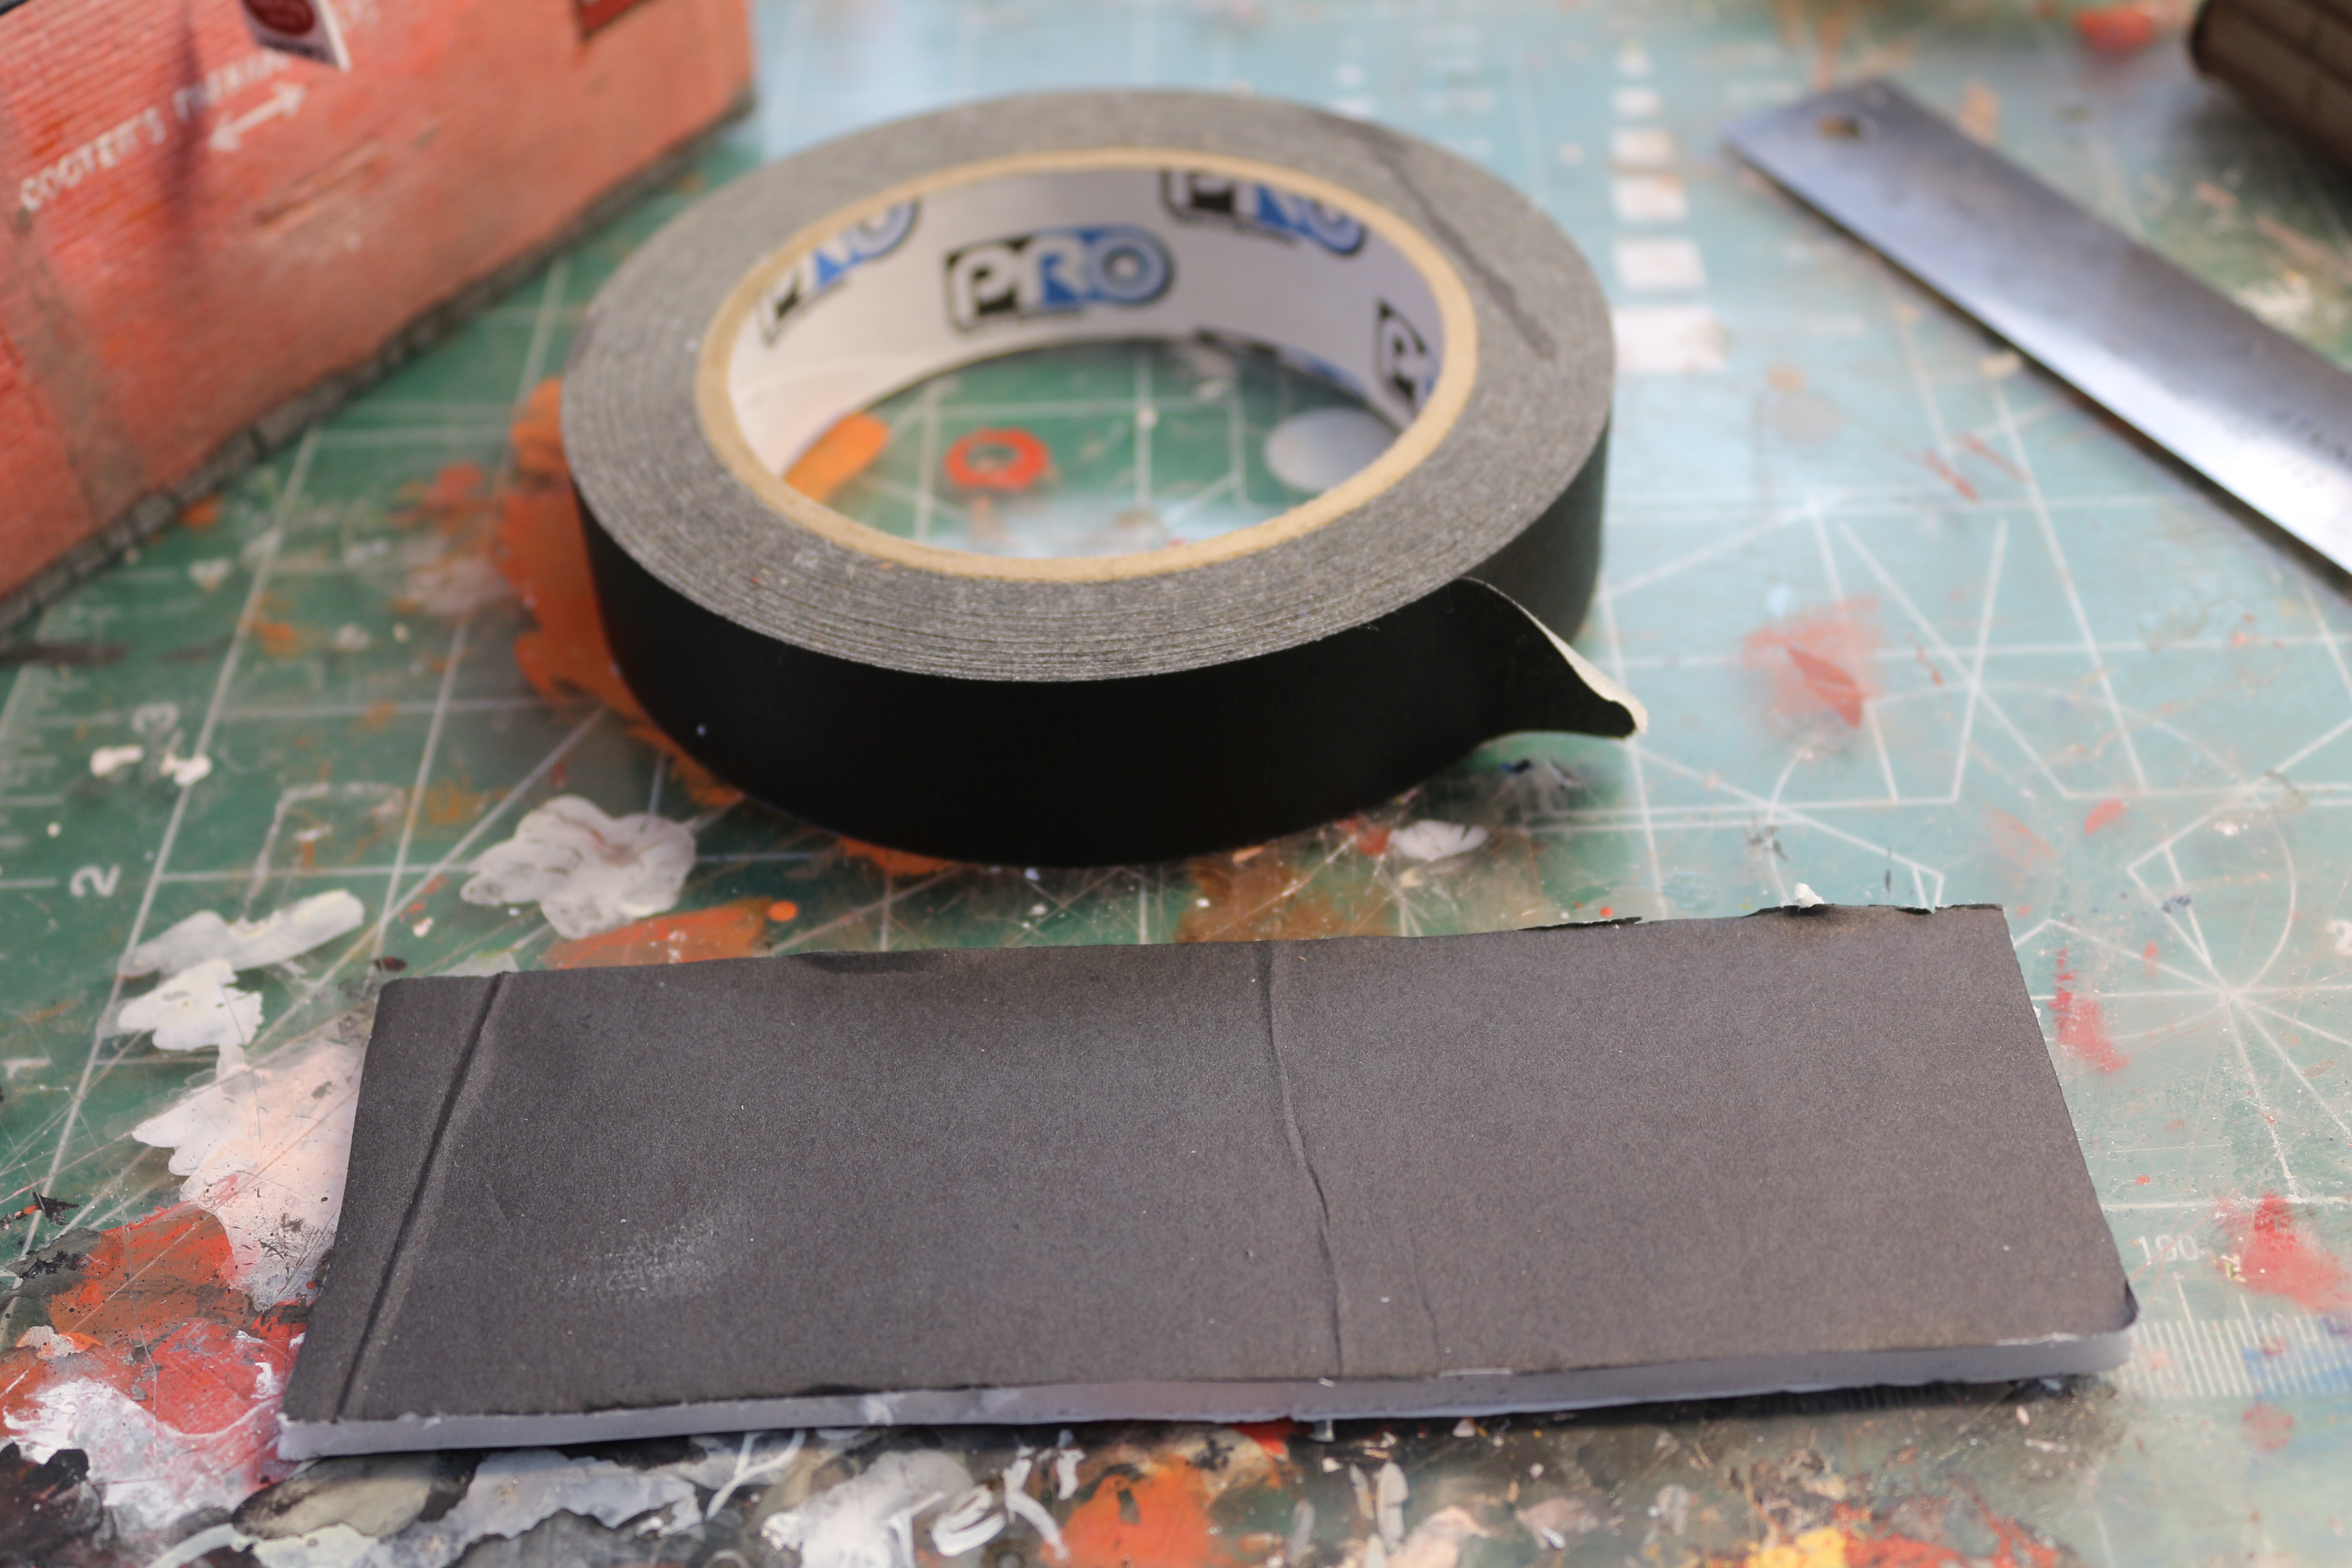
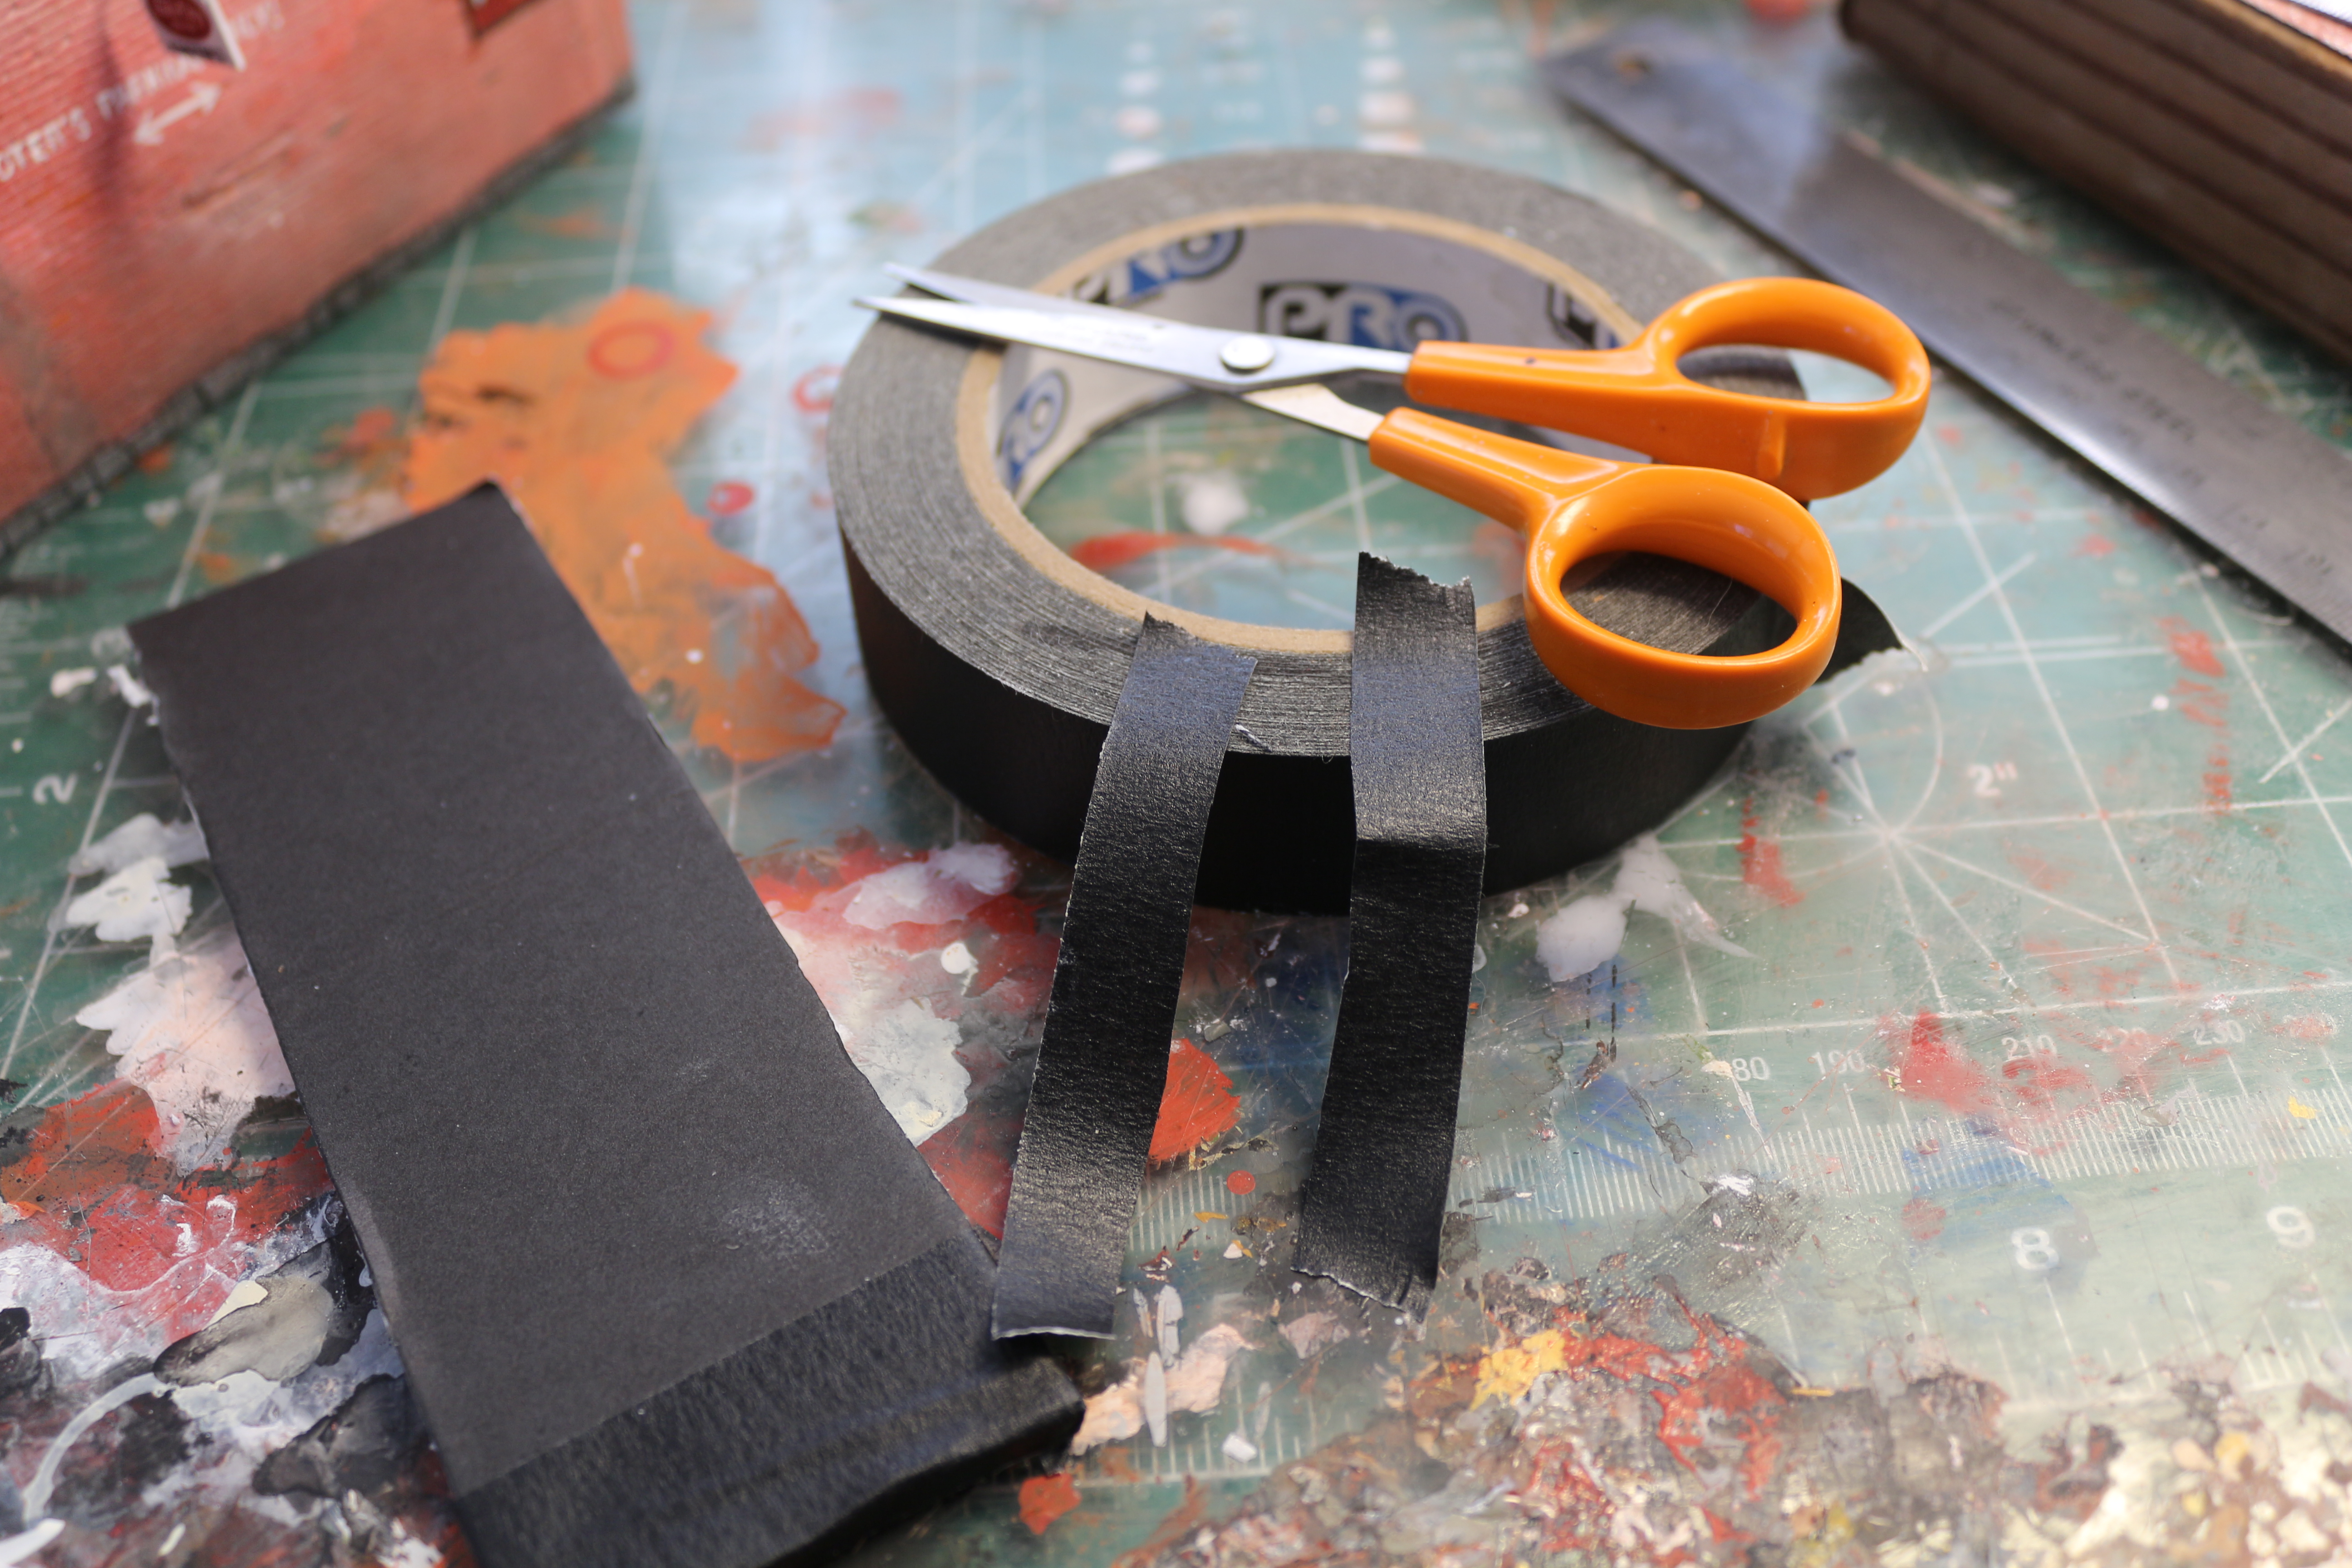
Most kits come with a styrene or paper roof for this build I’m using foam board cut to fit the roof opening (Fig 24), cover it with strips of black masking tape. This can be uses with styrene too.
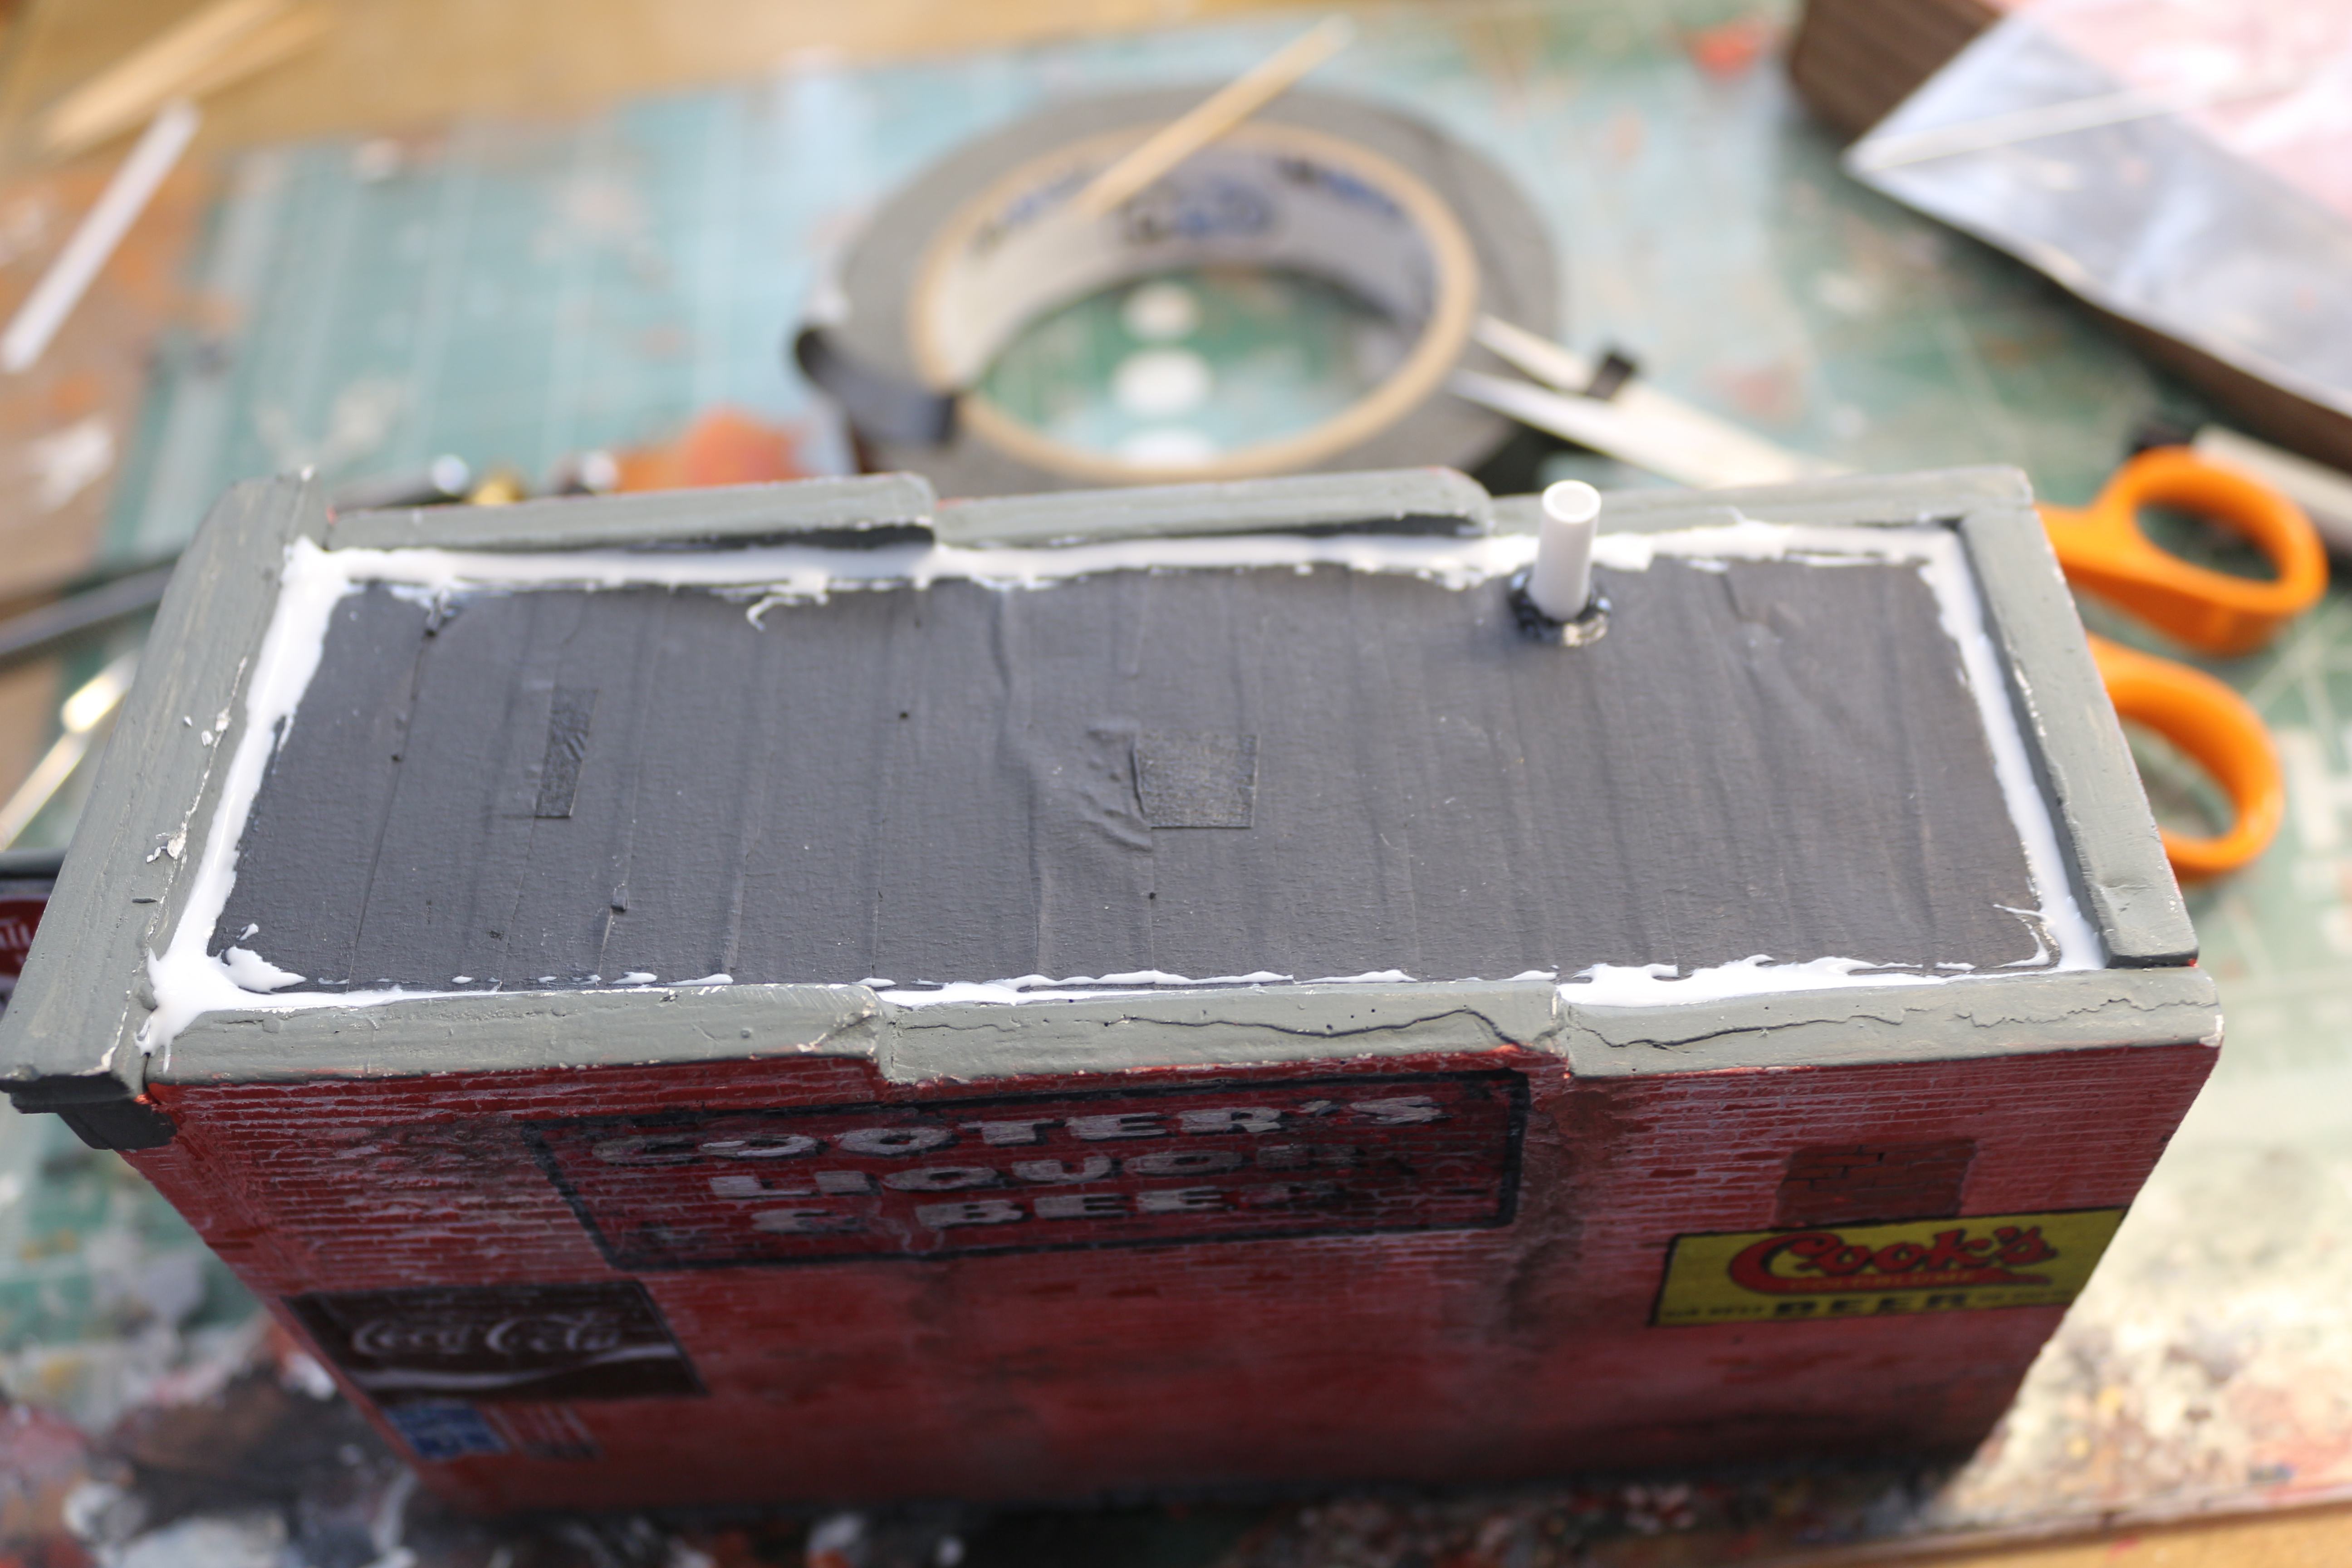
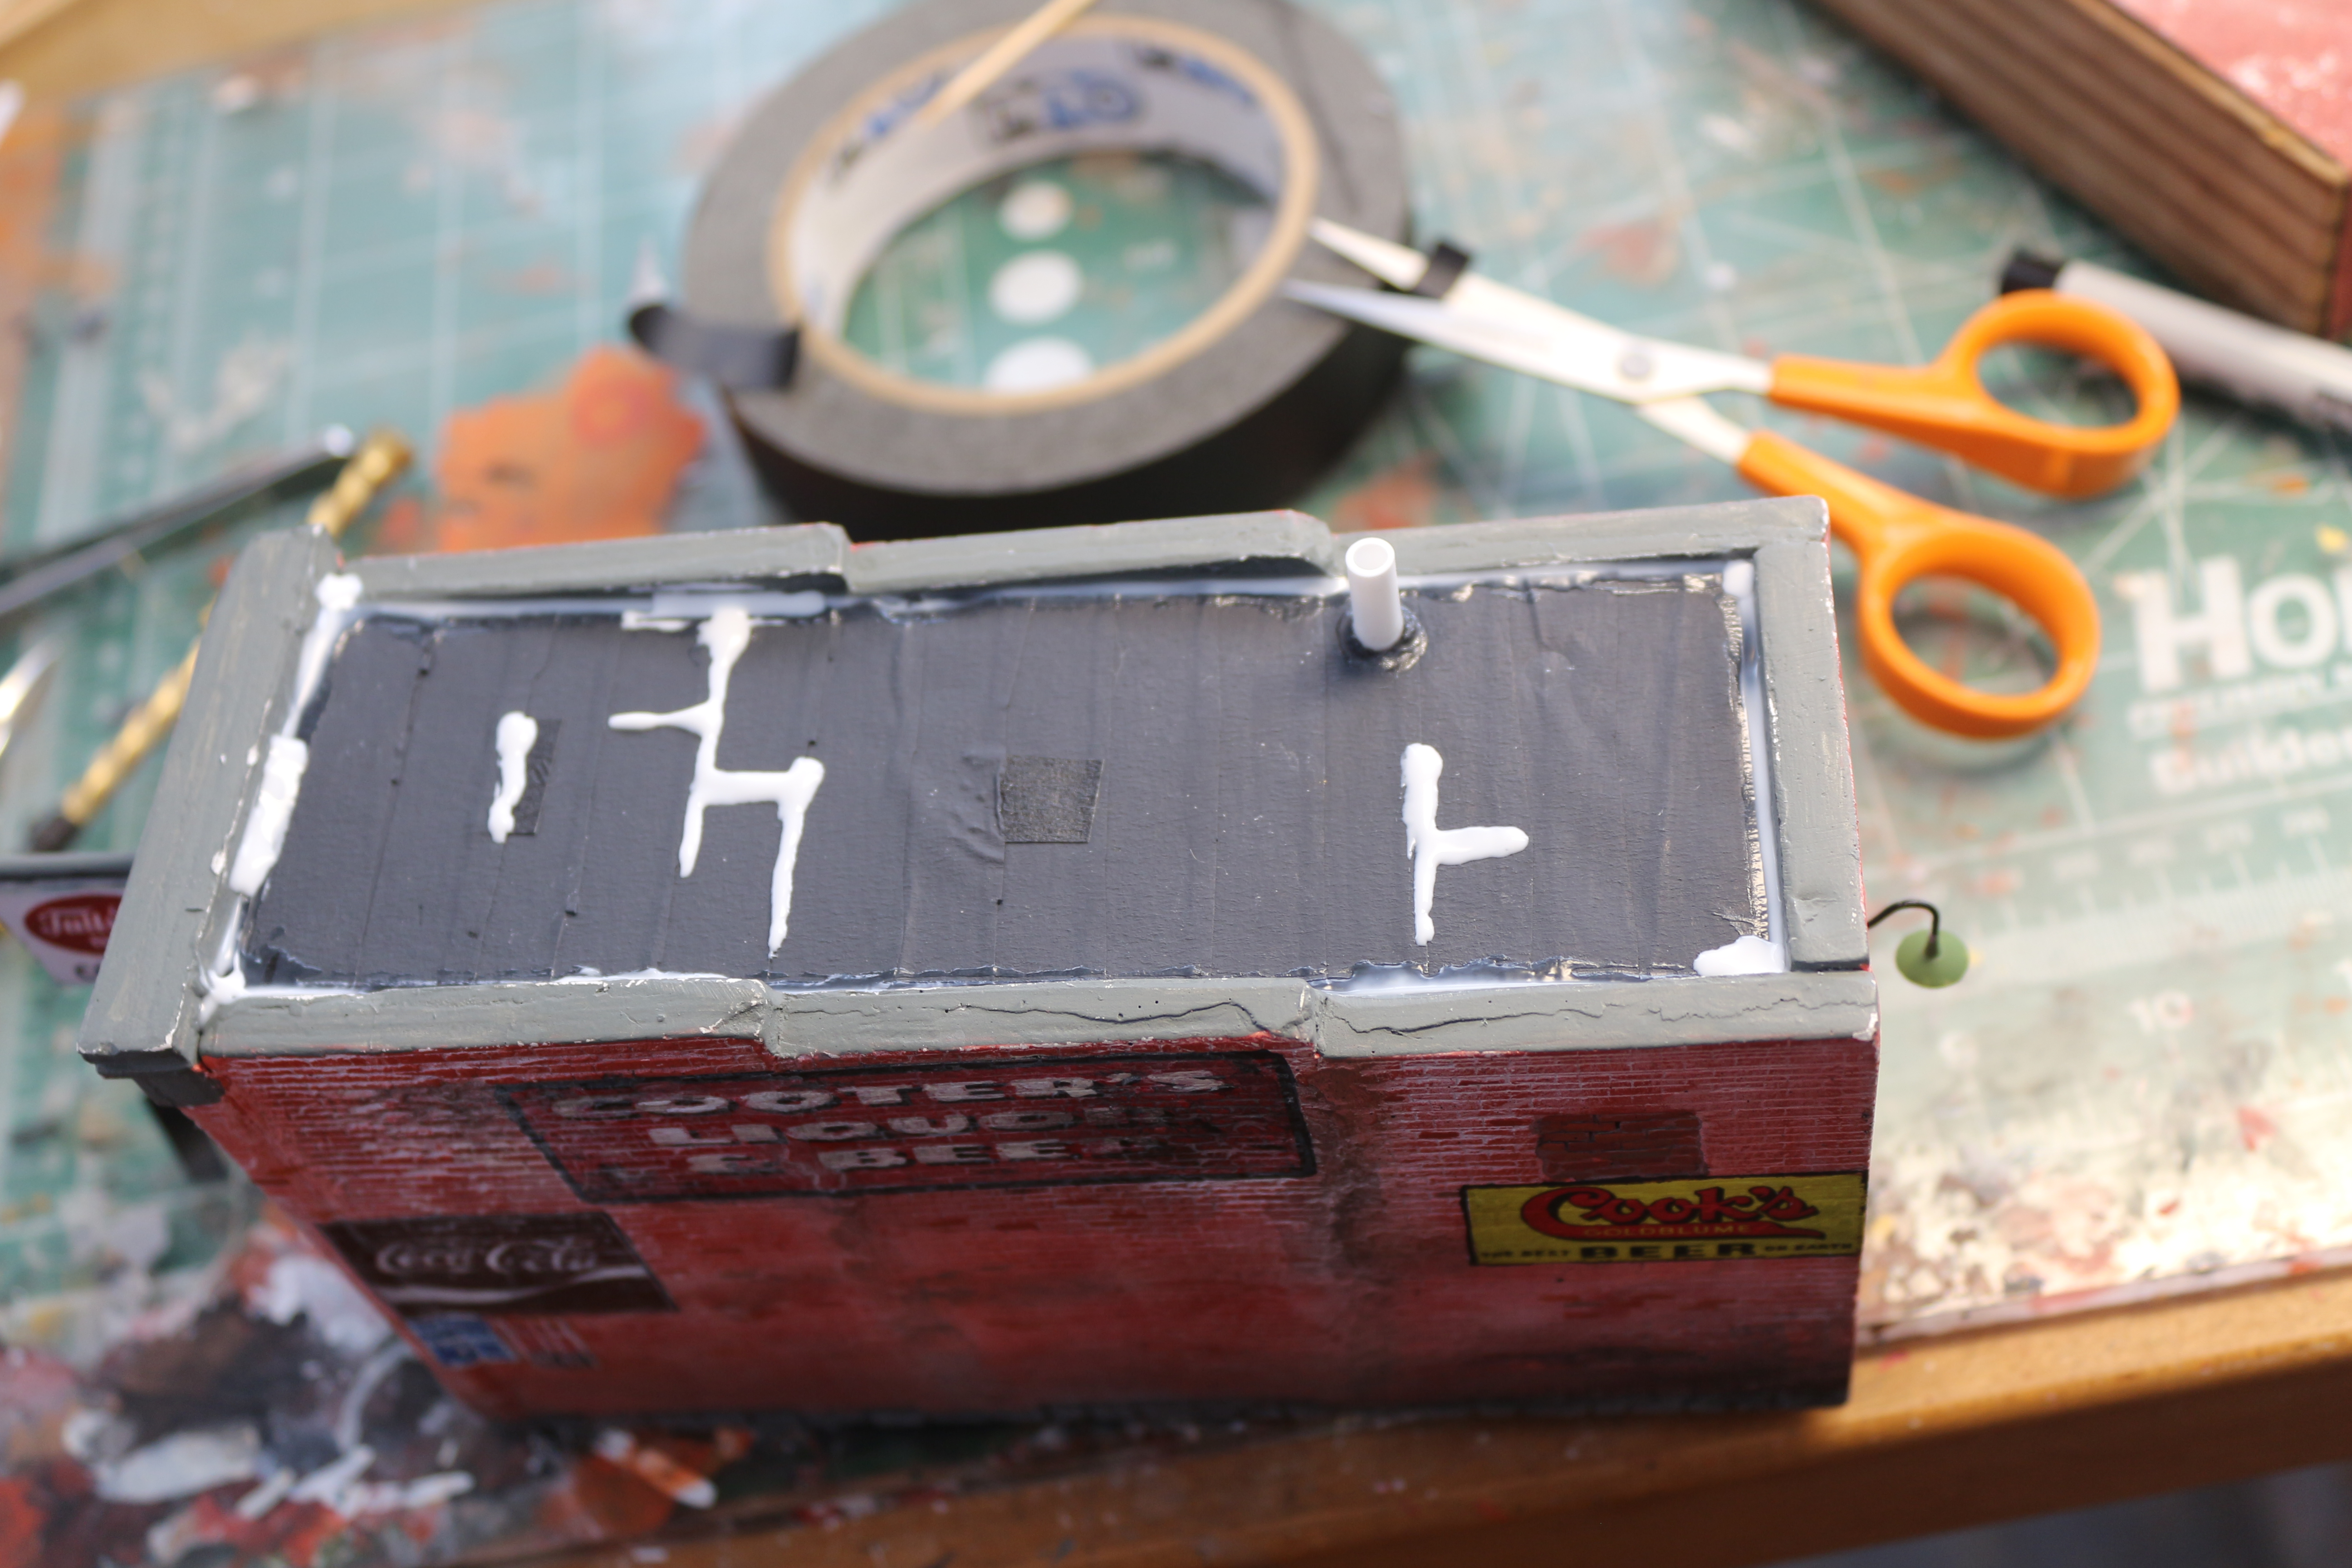
Cut strips of the black masking tape start at the back wall end of the roof (Fig 25) and lay across and wrap around slightly overlapping until the roof is covered and paint Black and/or Charcoal (Fig 26). Install the roof and glue around the edge with white glue (Fig 27). This gives it the appearance of tar. After the glue has dried retouch your paint with black paint allow to dry and weather to your liking with lighter shades. You can also add roof detail at this point. (Fig 29)

STEP ELEVEN – DETAILS
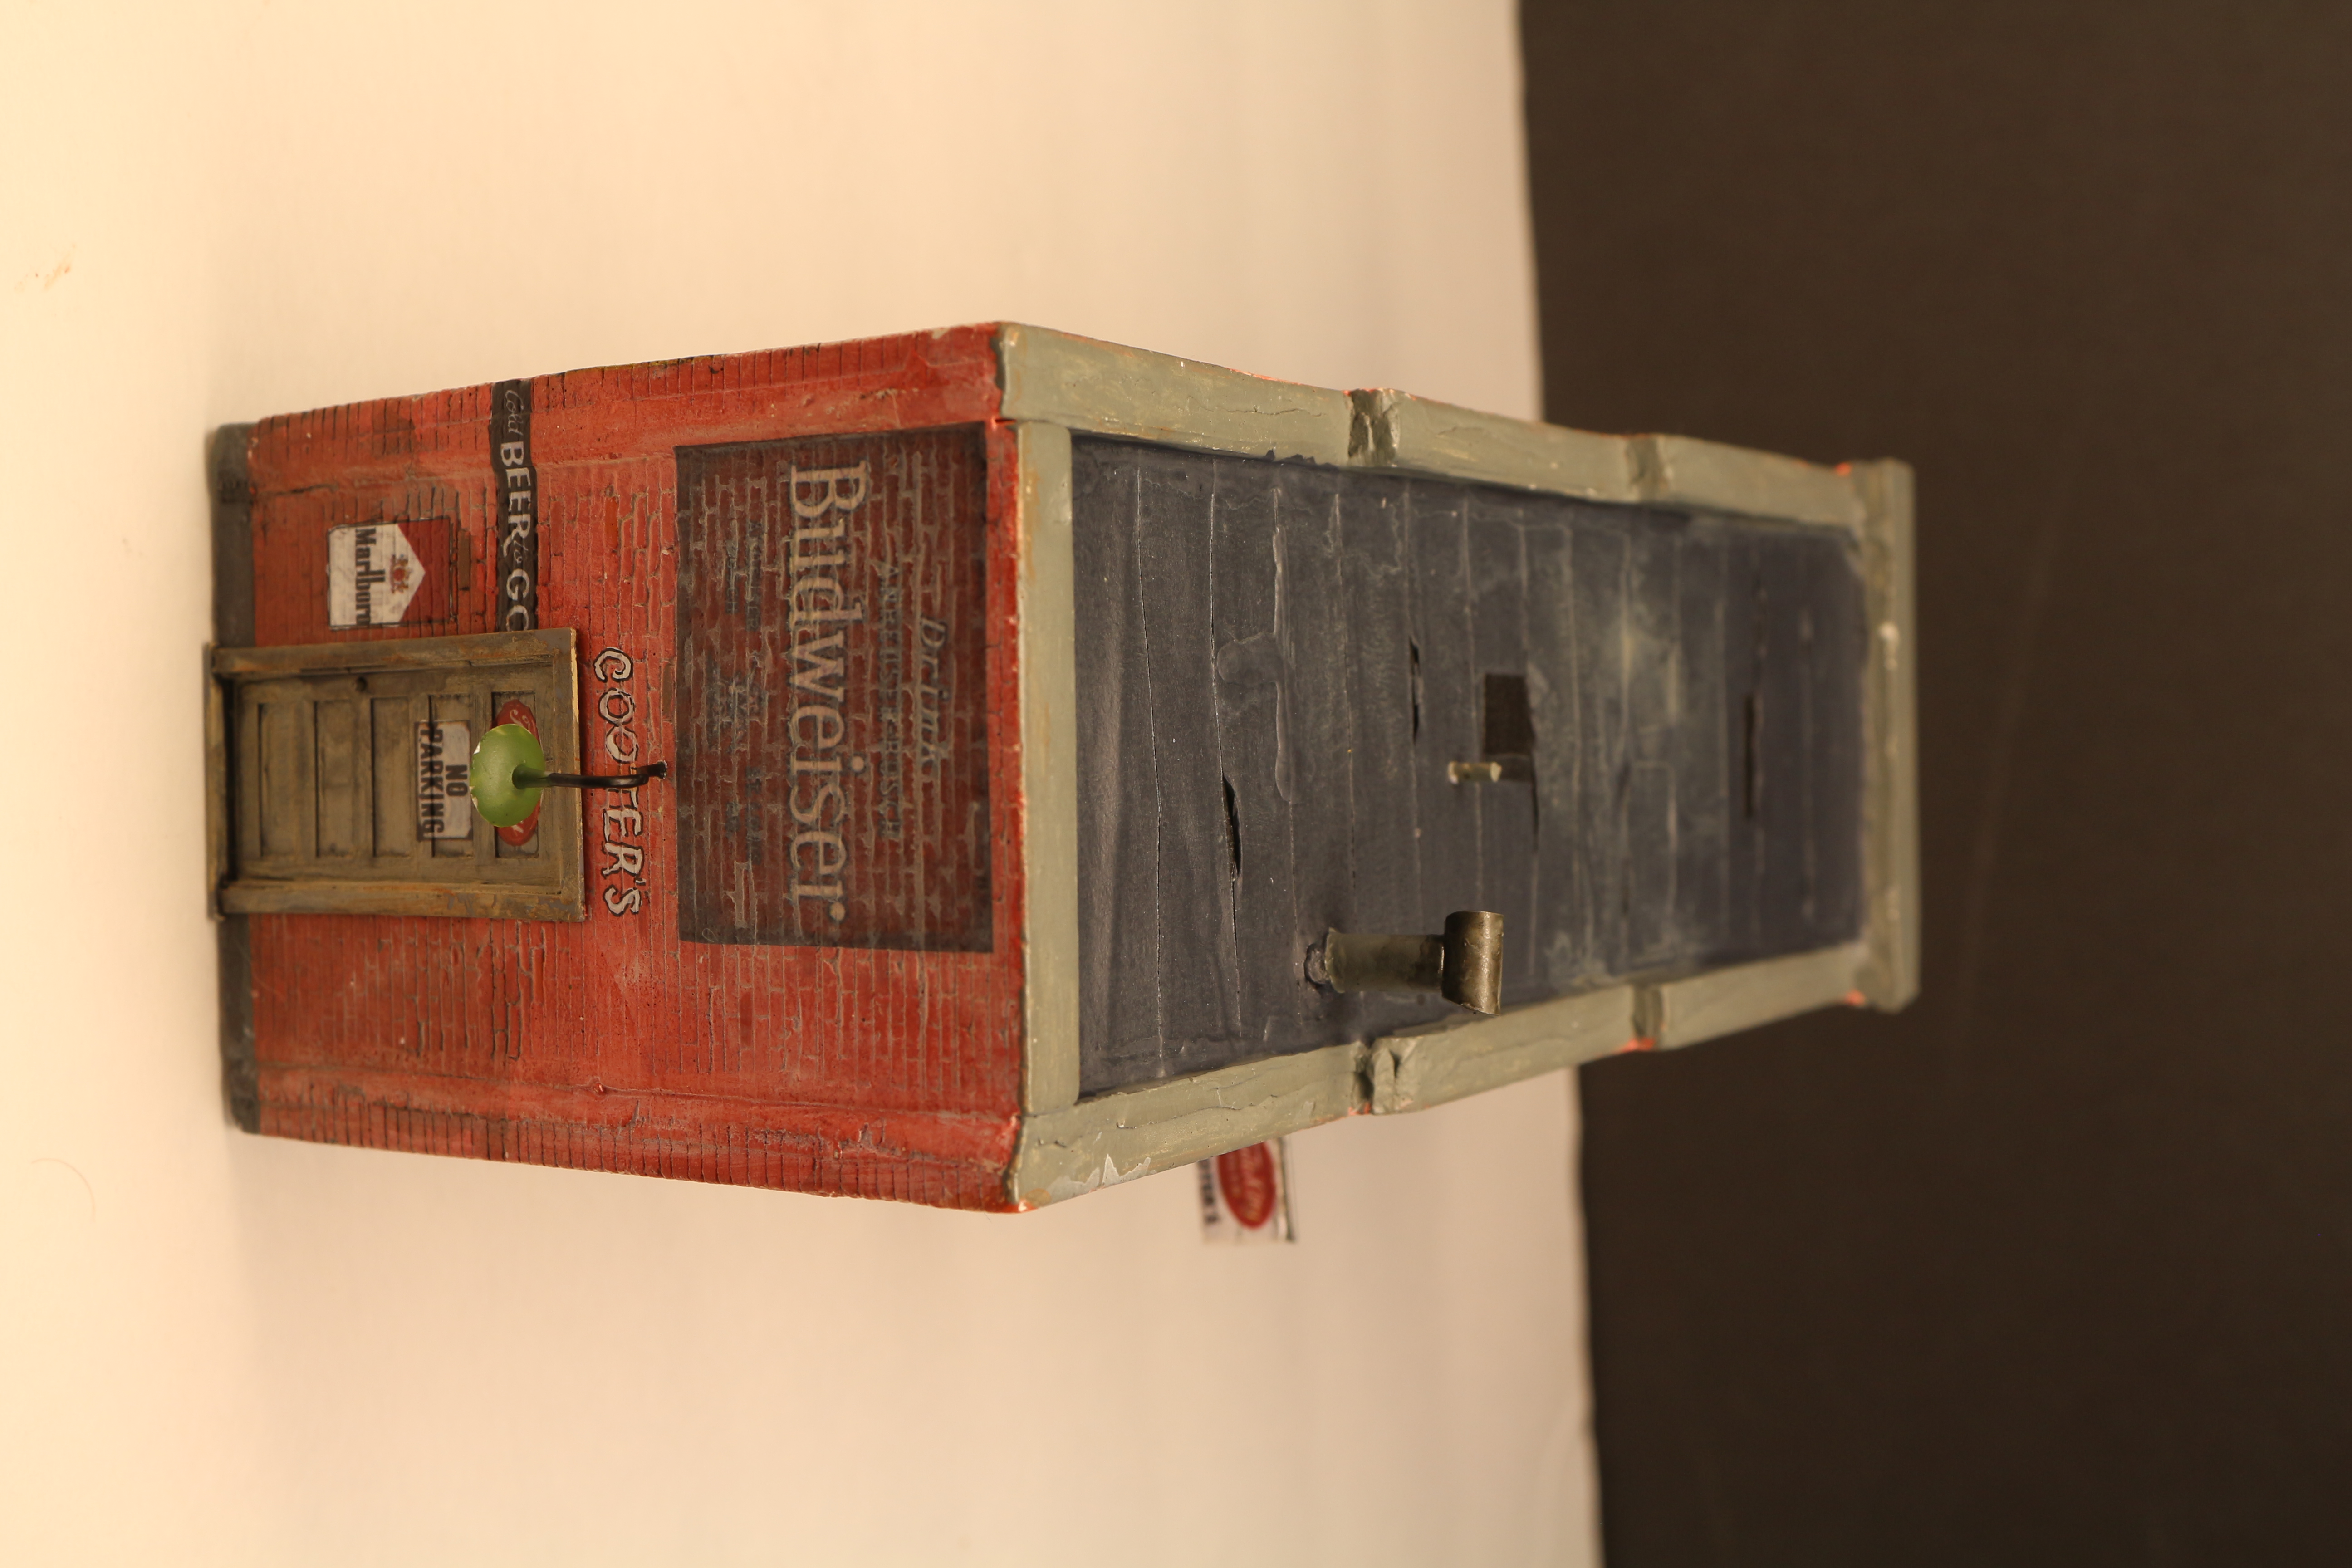
After you have installed the roof and weathers you may want to add a other details, one that comes with the kit is a “dummy” security light that you can add to the rear door or the location of your choice. (Fig 30) Thread your wire through the hole of the lamp shade and then bend to shape. It’s easiest to threat the wire from the “inside” of the light these generally have a gooseneck but right angles are not uncommon. (Fig 31) Drill a small hole in the location you choose and mount and glue your light. You can pain the pole gray and the shade Hunter Green or similar color. The inside of the shade may be painted white.
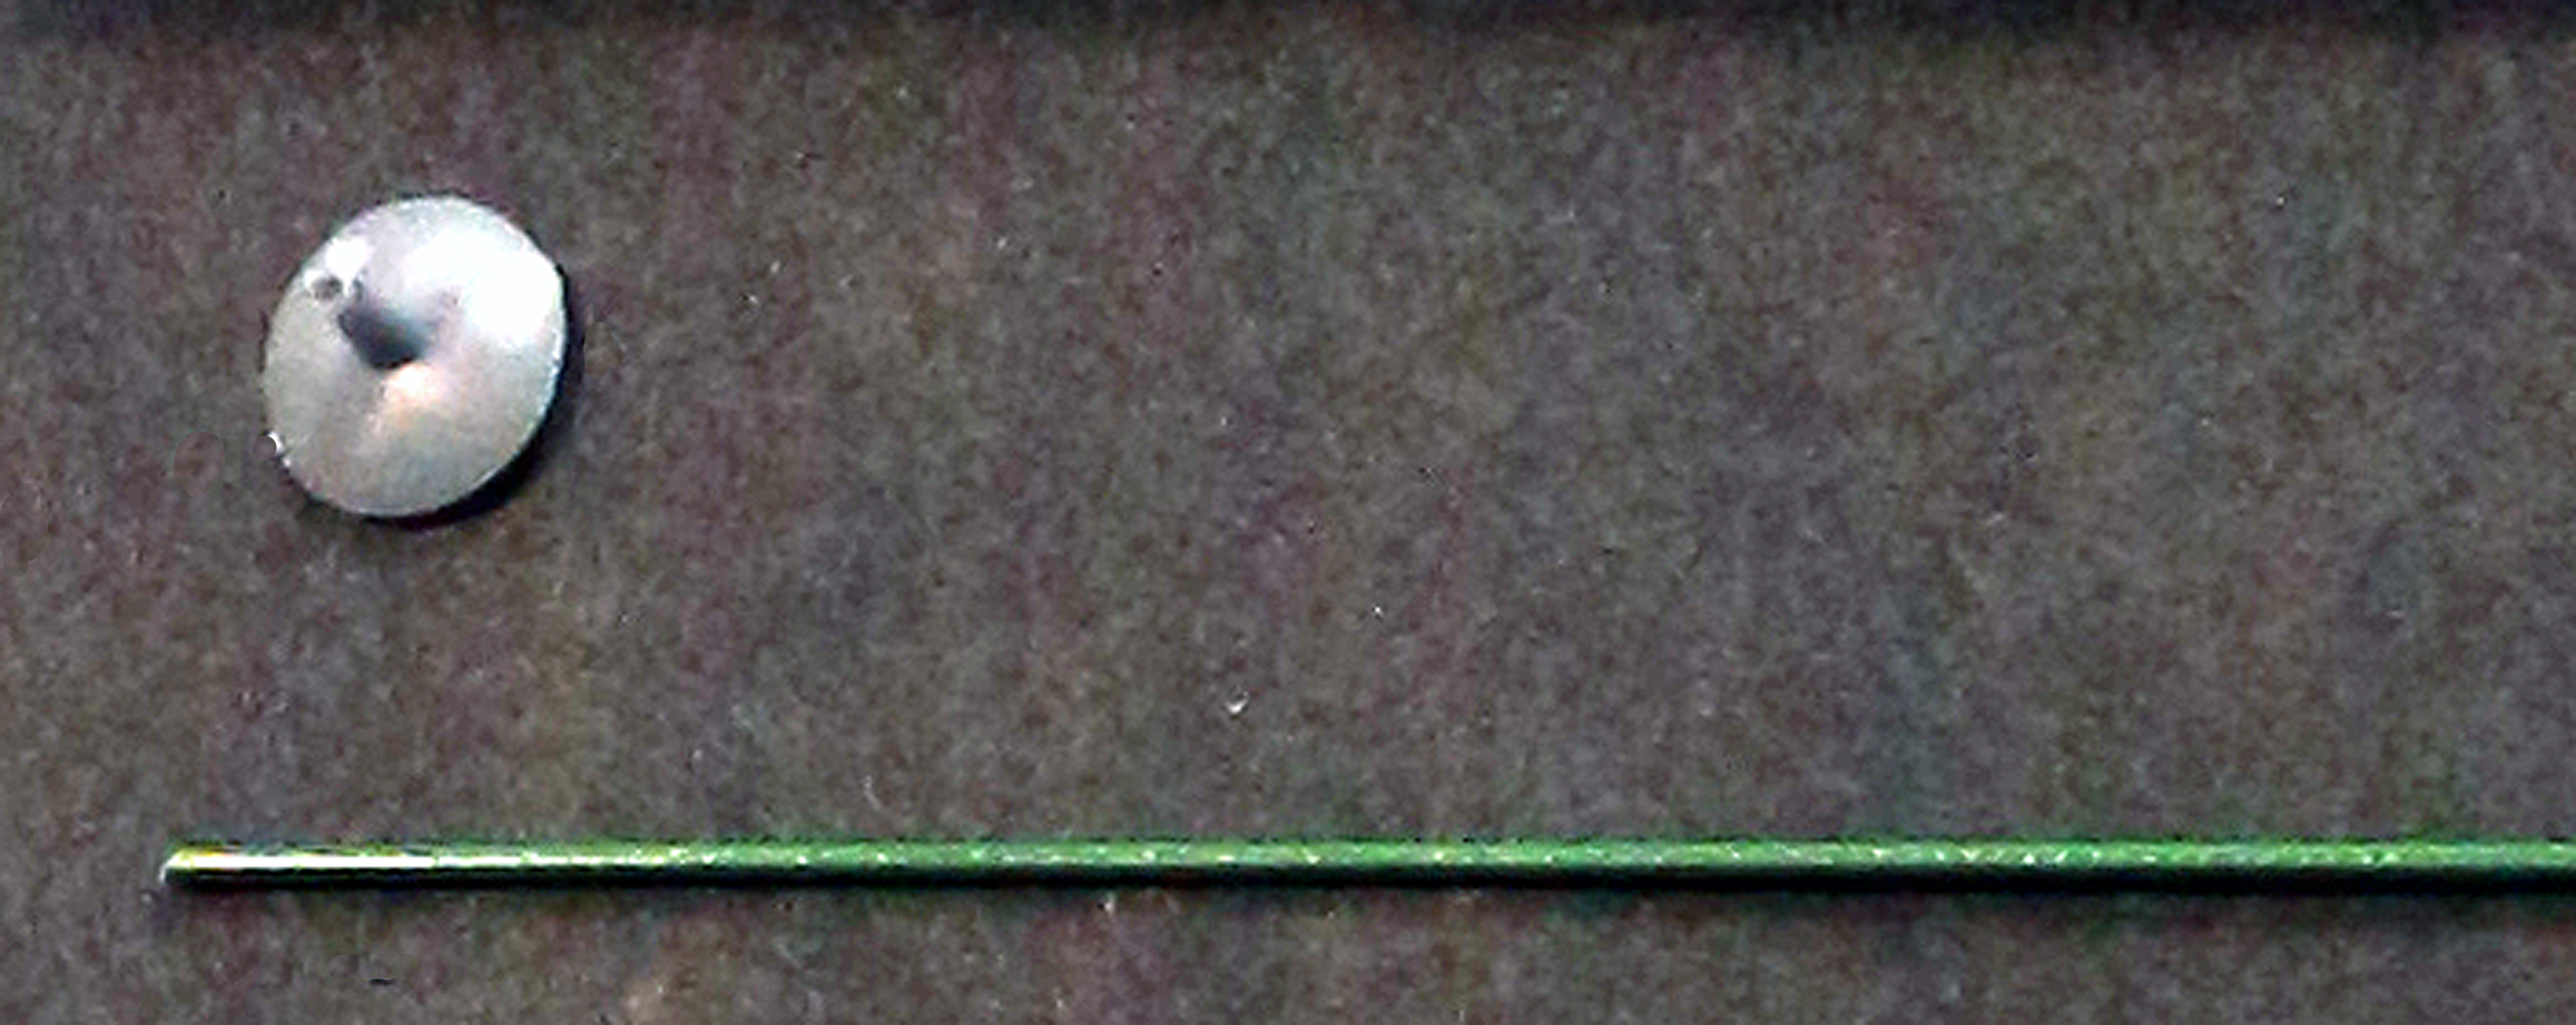
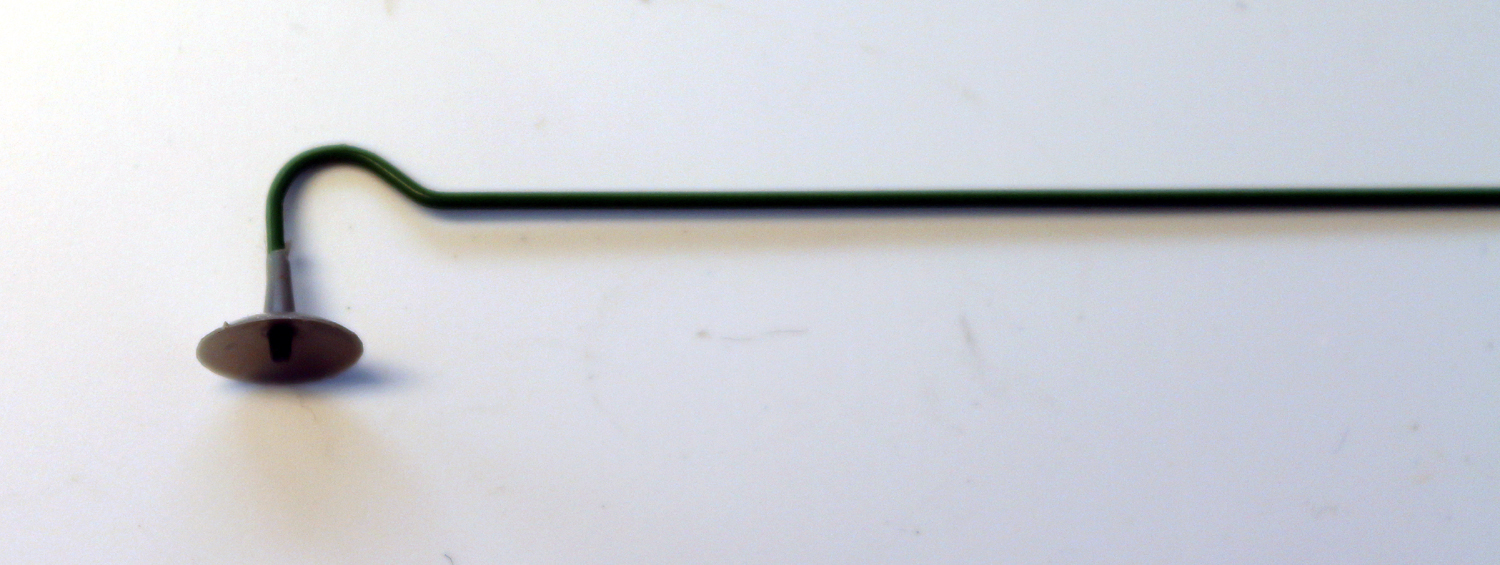
STEP TWELVE -FINISHING AND SEALING
At this time you can do any needed touch ups and additional weathering you may want to add and if satisfied with your kit you get tape off your windows if you want and in a couple of light coats you can seal your kit with a Clear Flat Acrylic. I use Krylon Crystal Clear Flat.